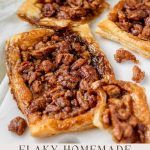
Maple Pecan Danish | These maple danishes are made with flaky store-bought puff pastry and a sweet, nutty maple pecan filling. In just a few easy steps, you can enjoy the perfect fall dessert using frozen puff pastry.
These maple pecan danishes are sweet, nutty, and flaky, with the easy shortcut of using frozen puff pastry. And the bonus is that storebought puff pastry is usually vegan as it is often made with oil instead of butter. Pepperidge Farms Puff Pastry is my go-to for plant based puff pastry.
Using storebought puff pastry cuts down on prep time, eliminating the need to spend time laminating dough. These maple pecan danishes can be made in under 30 minutes!
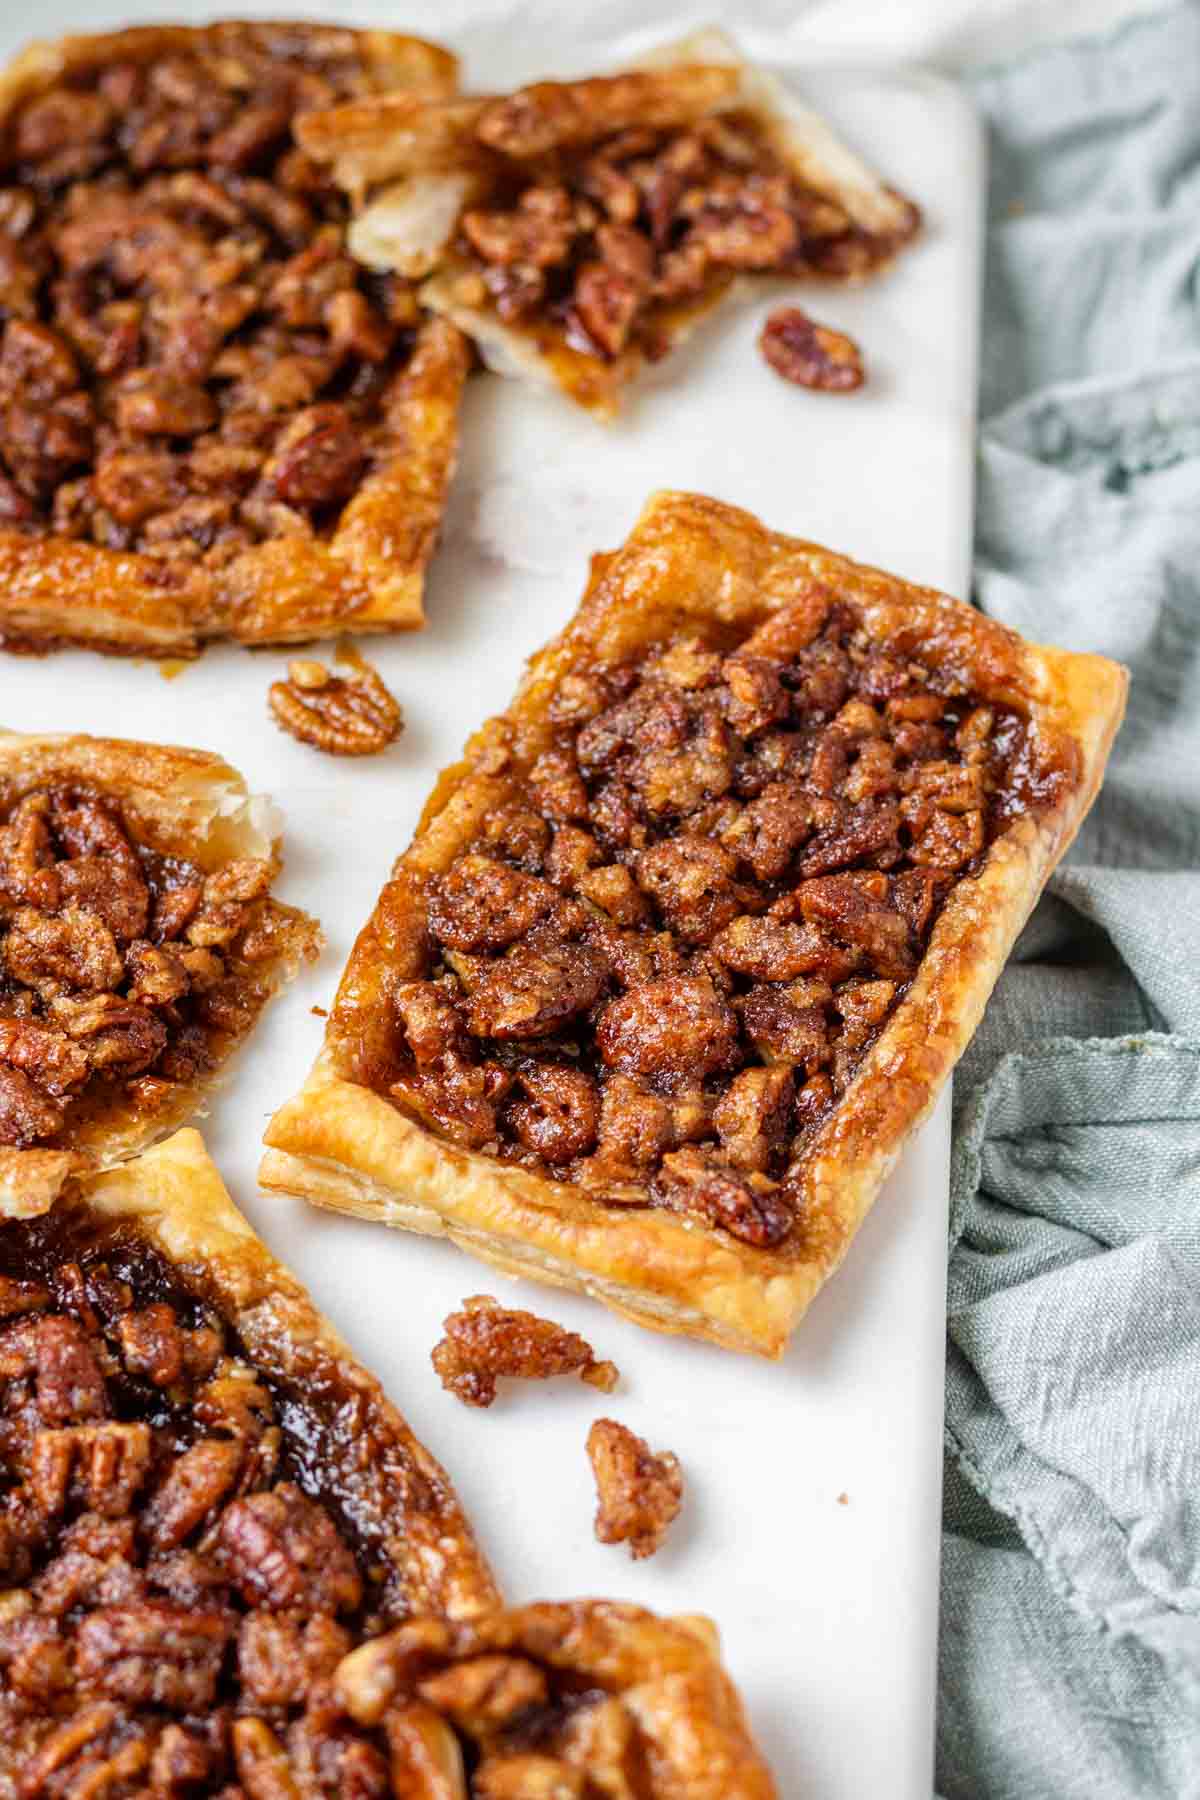
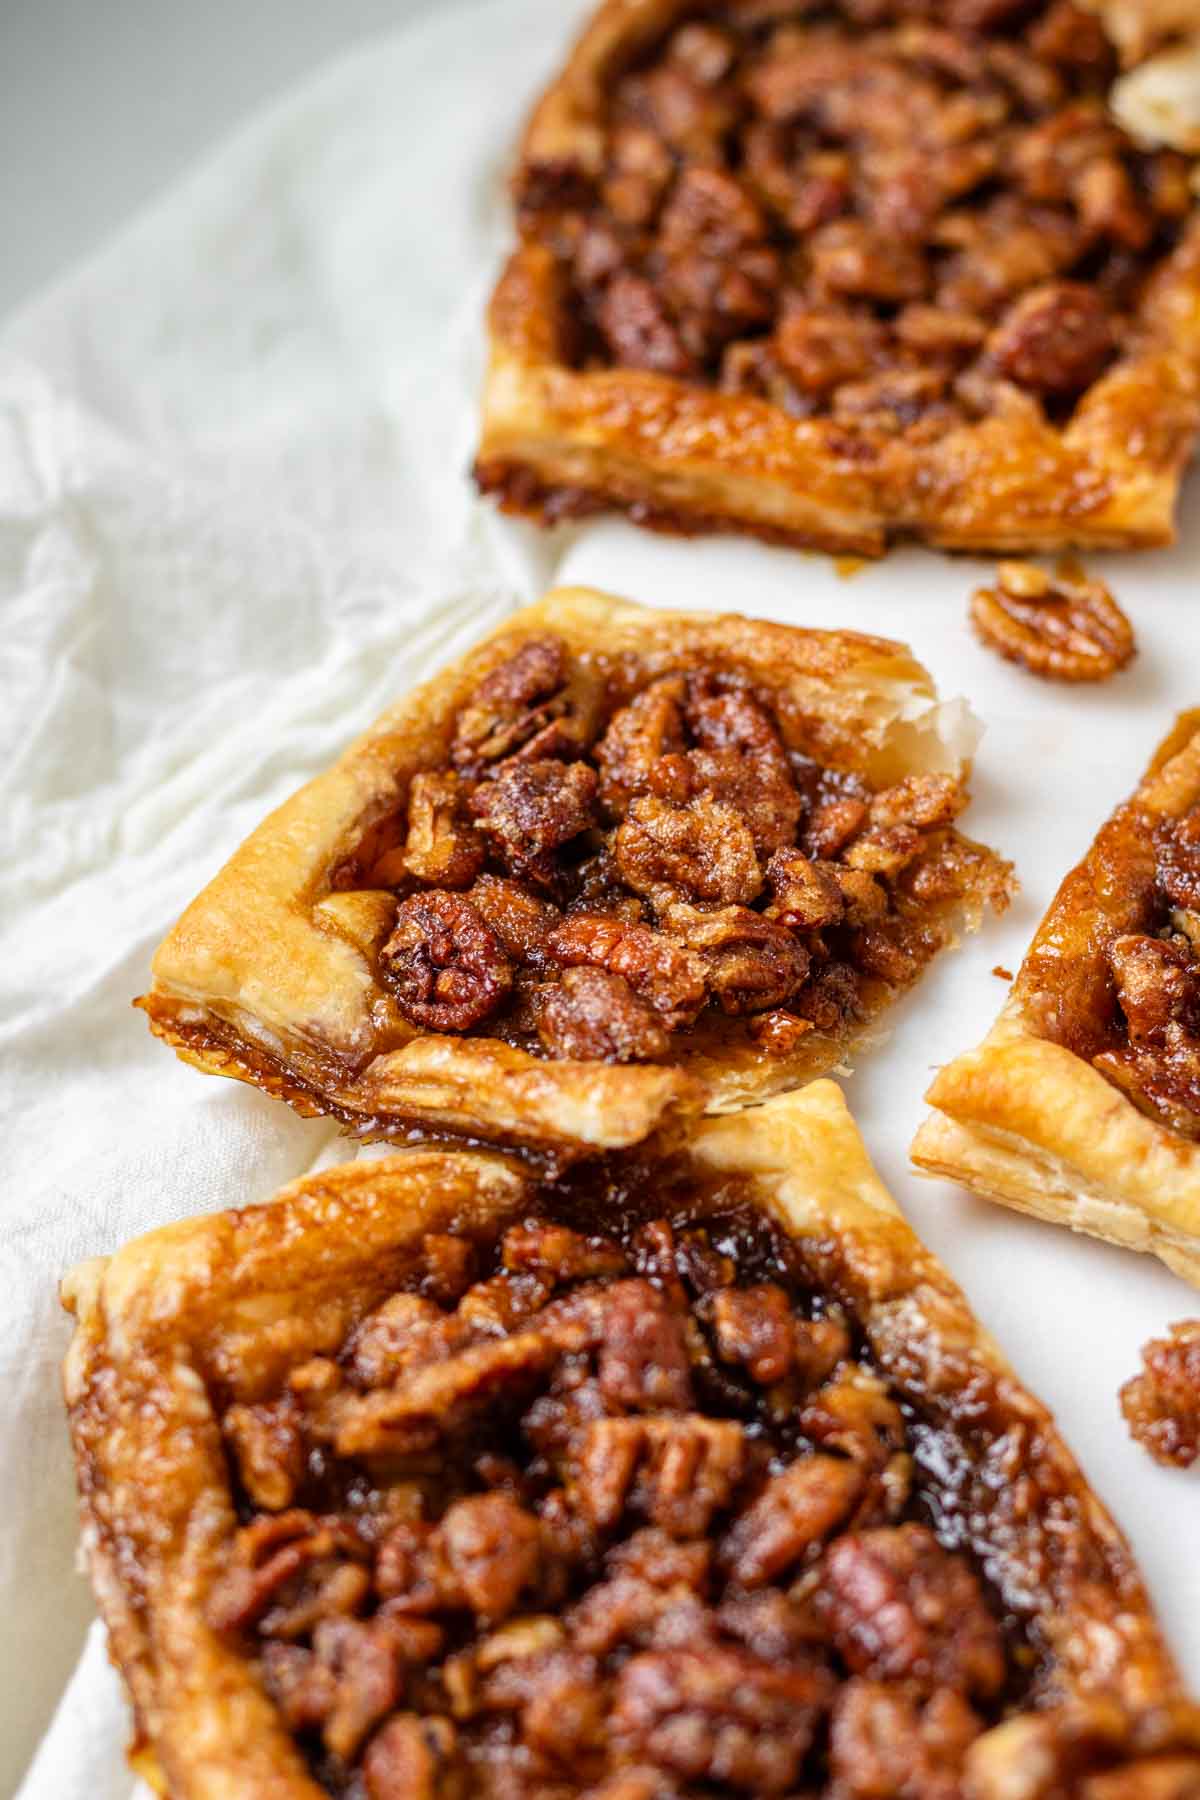
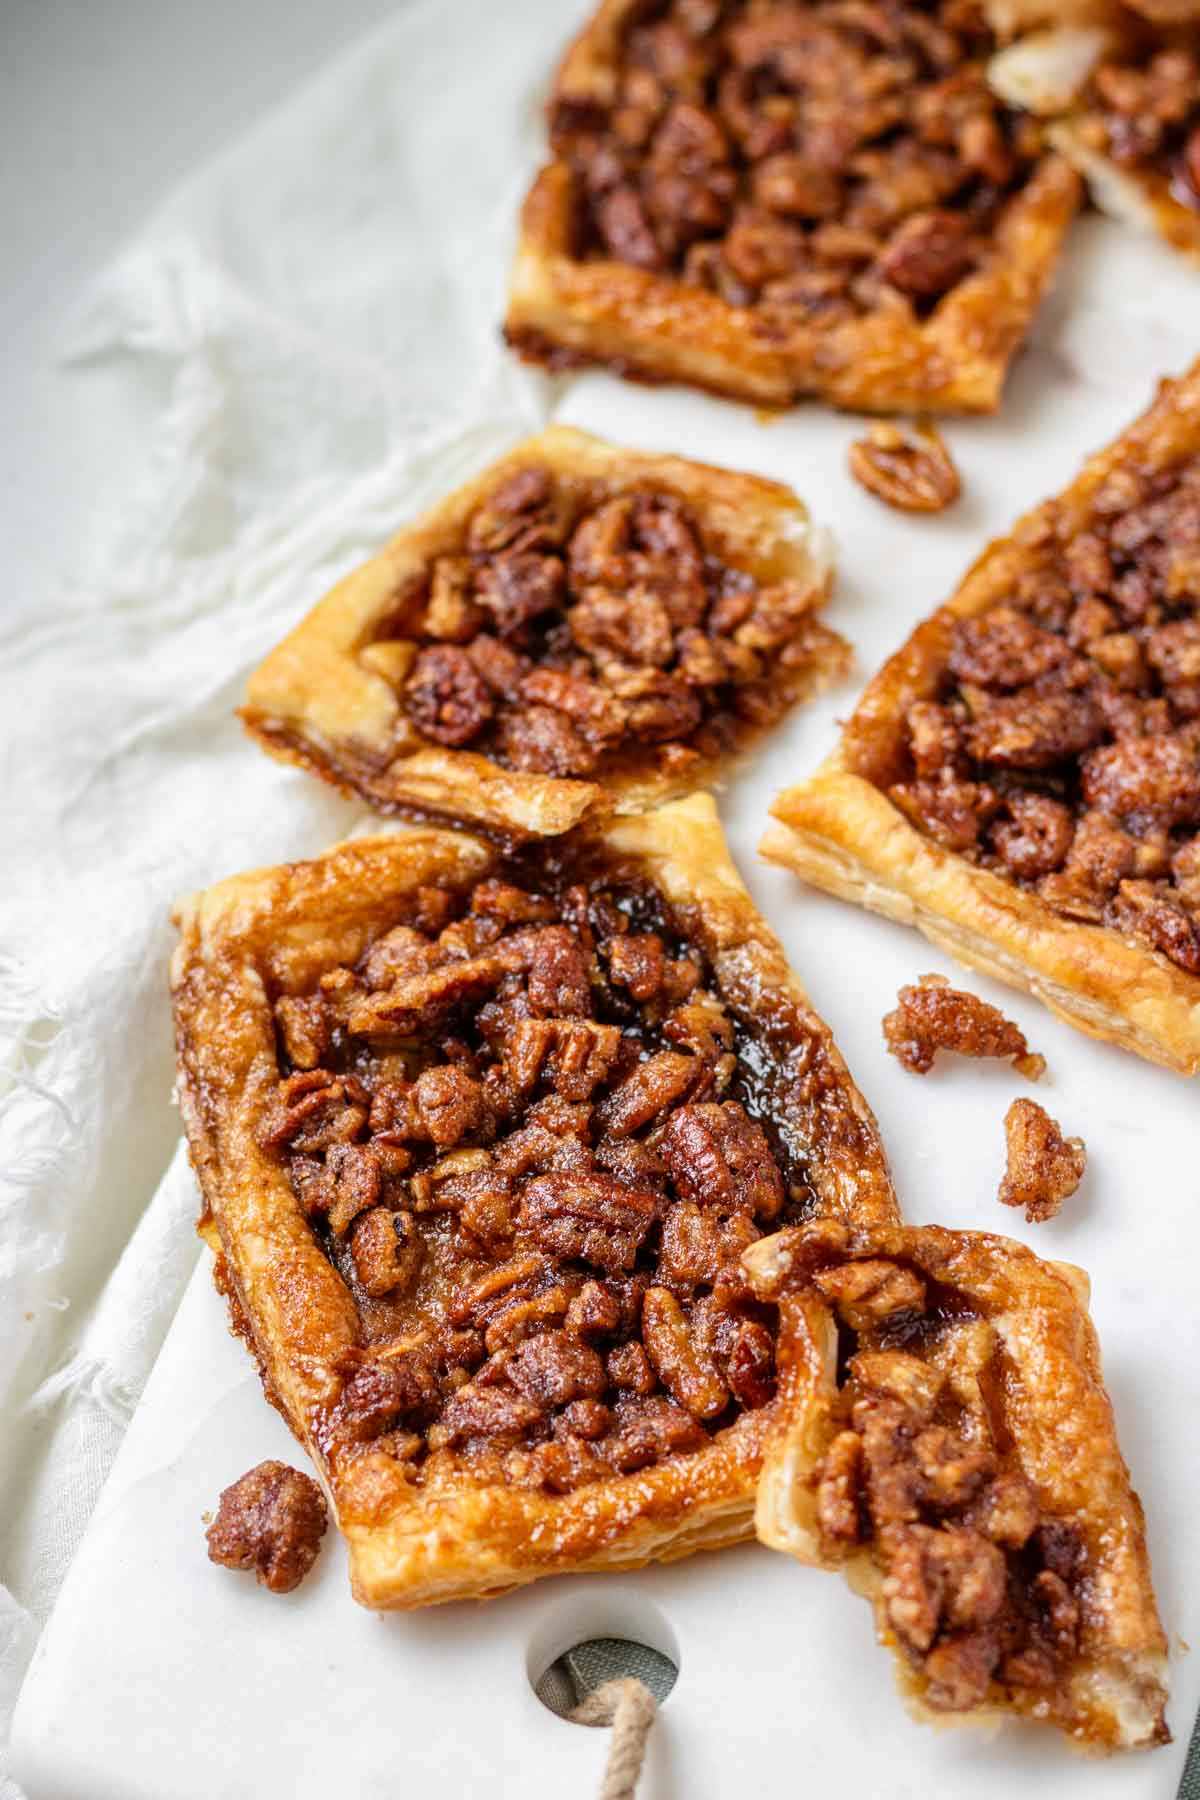
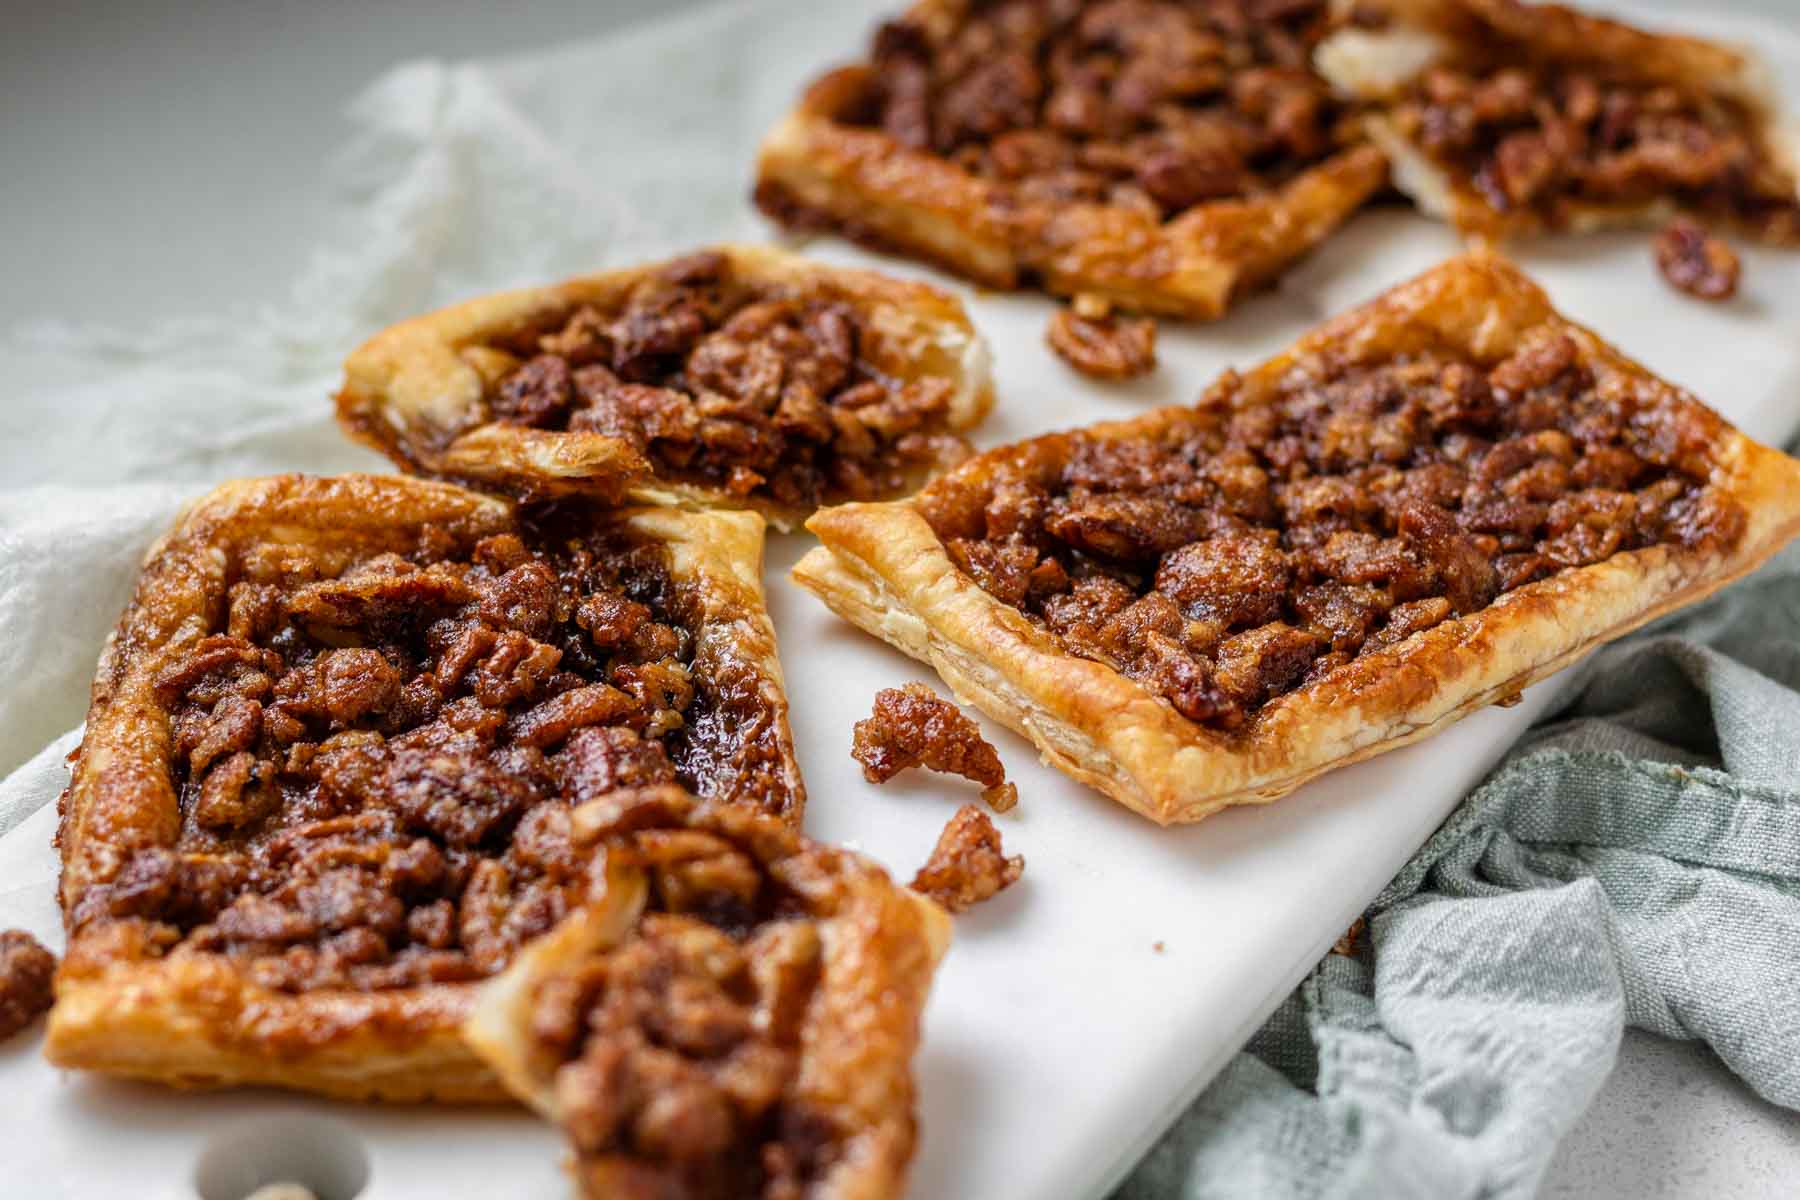
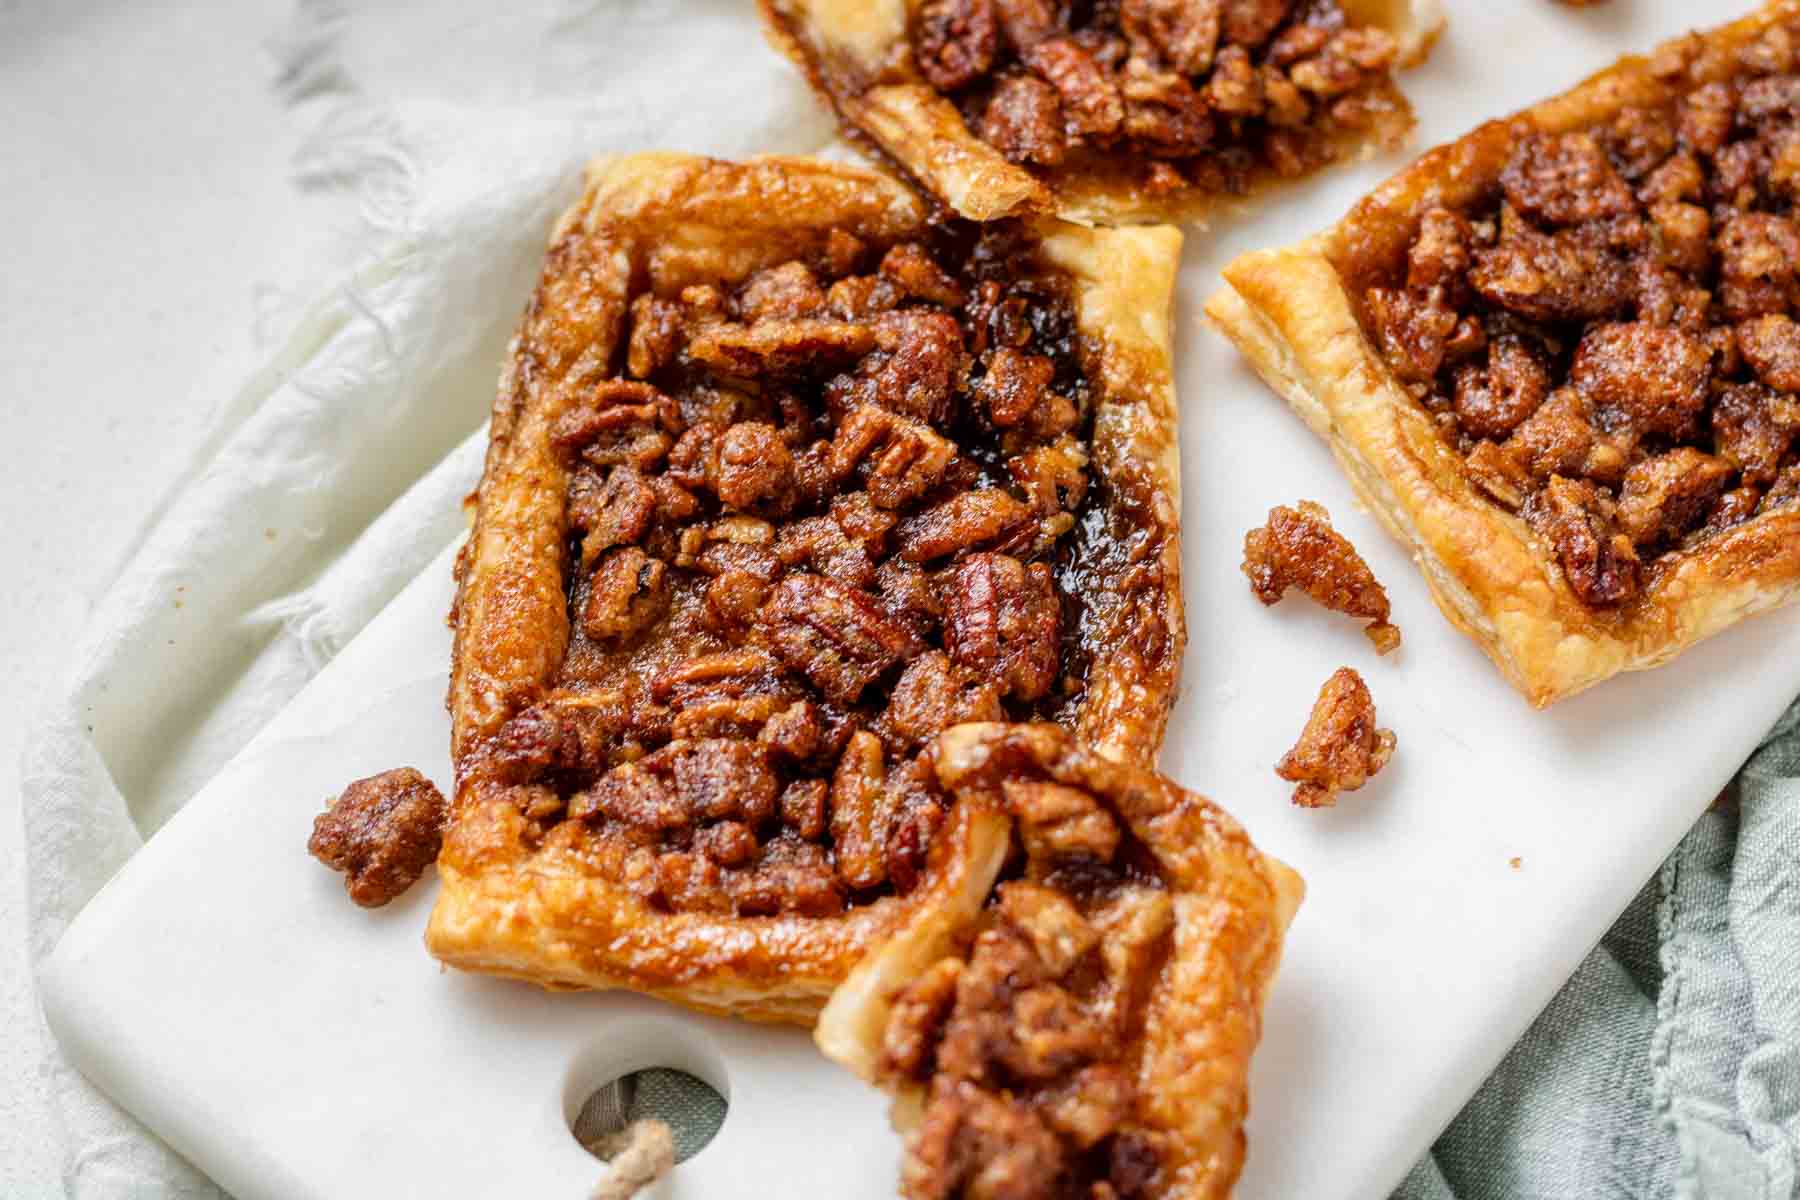
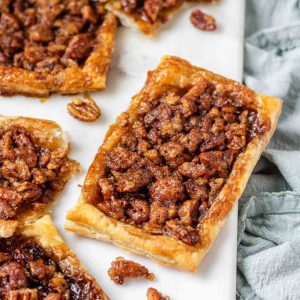
These danishes are sticky and buttery, yet flaky, just like something you’d buy from a bakery. Pecans and maple syrup are a classic combination, offering a sweet, nutty taste. Just like pecan pie but in danish form.
What do Maple Pecan Danishes Taste Like?
These sweet, sticky, maple pecan danishes taste like pecan pie. The flaky puff pastry is buttery, the maple pecan filling sweet and nutty, with the cinnamon adding warmth.
The contrast between the flaky pastry and gooey pecan filling is the best part about these homemade danishes.
How Long to Thaw Puff Pastry
Thaw puff pastry at room temperature for 30-60 minutes. When it is still cold to the touch and can be unfolded without breaking, it’s ready to use.
Frozen puff pastry must be thawed before it can be used for baking. It normally comes folded up, and unfolding it before it thaws can cause it to crack.
How to Make Maple Pecan Danishes
To make homemade maple pecan danishes, first thaw the frozen puff pastry. Then make the maple pecan filling by combining pecans, brown sugar, maple syrup, vegan butter, cinnamon, and vanilla extract.
Cut the puff pastry into 6 equal rectangles, and then trace a border around the edges using a butter knife. Divide the filling between the pastry, and brush the edges with plant based milk.
Bake for 20 minutes at 400°F/200°C until the pastry is golden and flaky, and the filling is bubbling.
Ingredients
More about the ingredients in this recipe. The exact measurements are below.
Substitutions
Instructions
Prep tips:
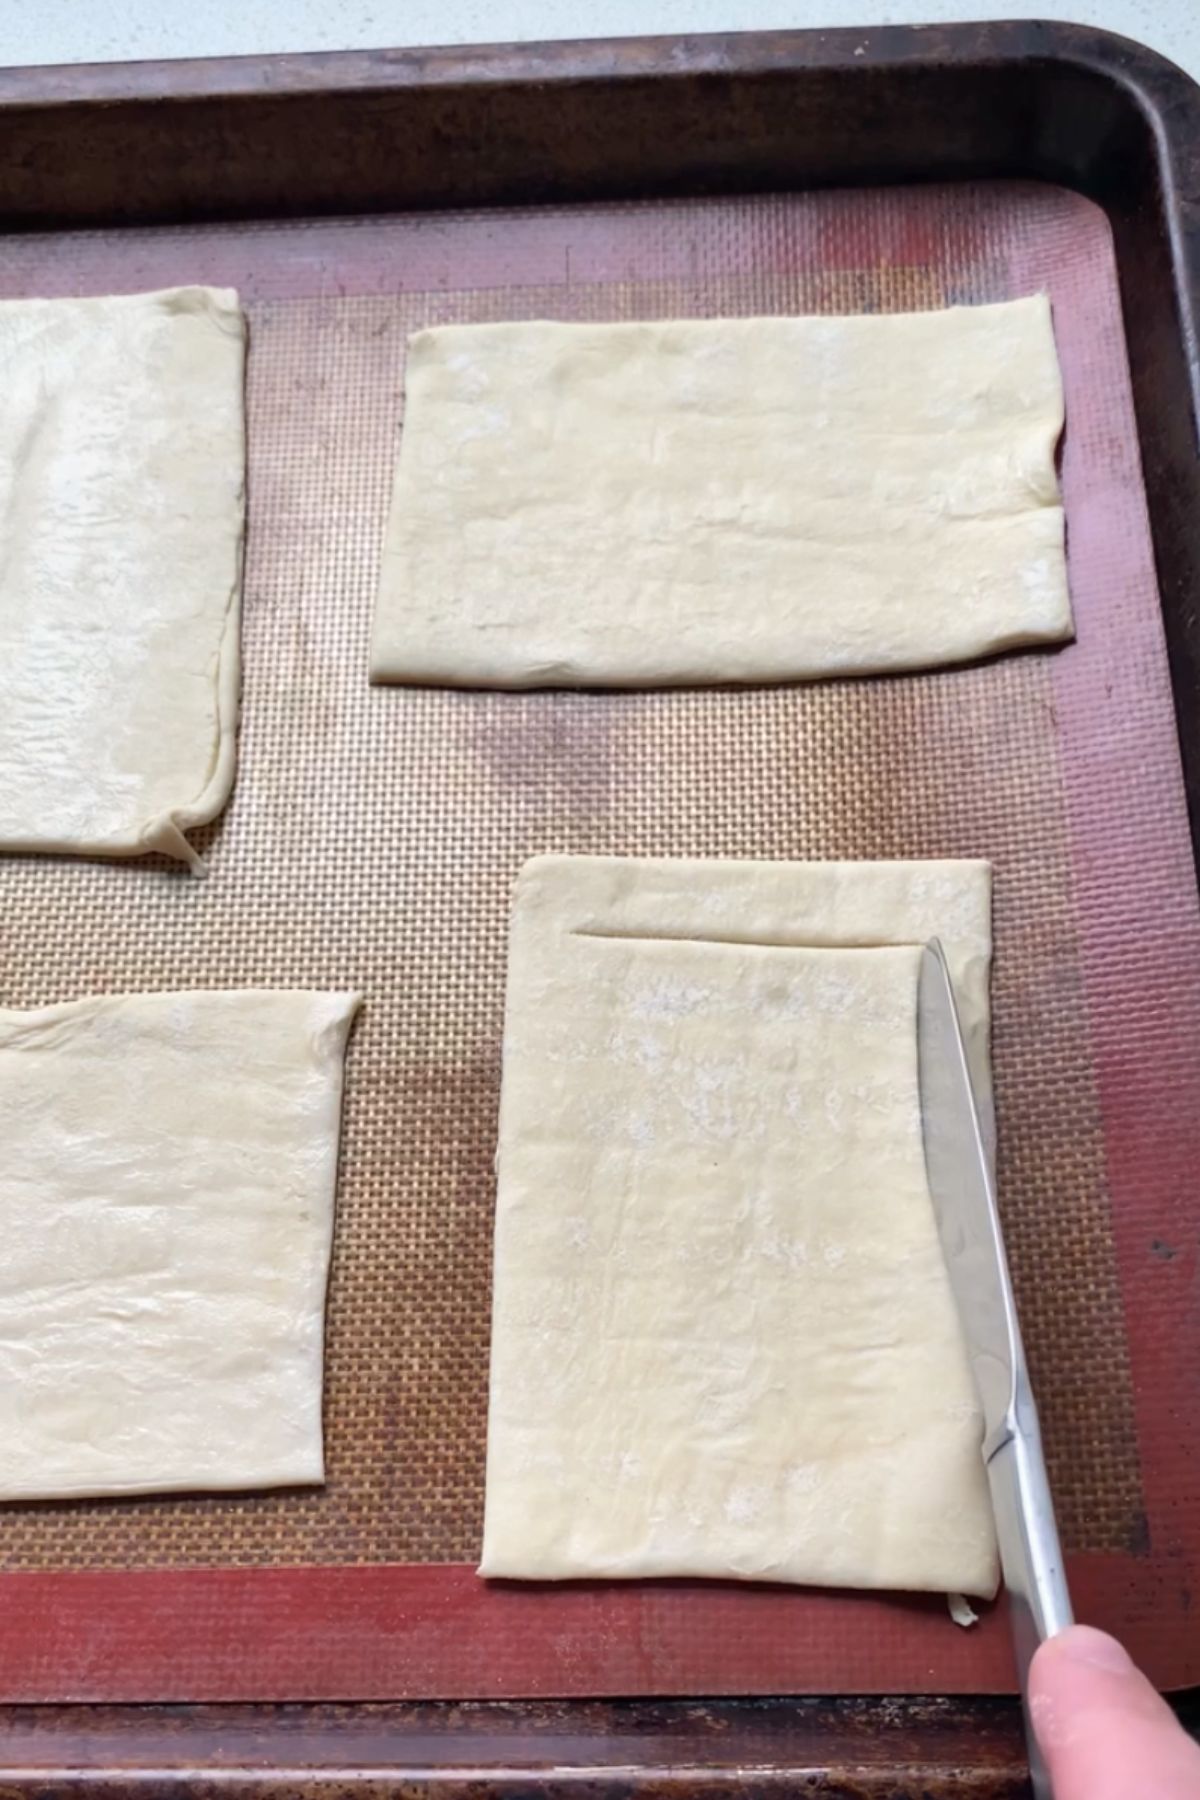
Cut the puff pastry into 6 pieces and trace a 1/2 inch border onto each.
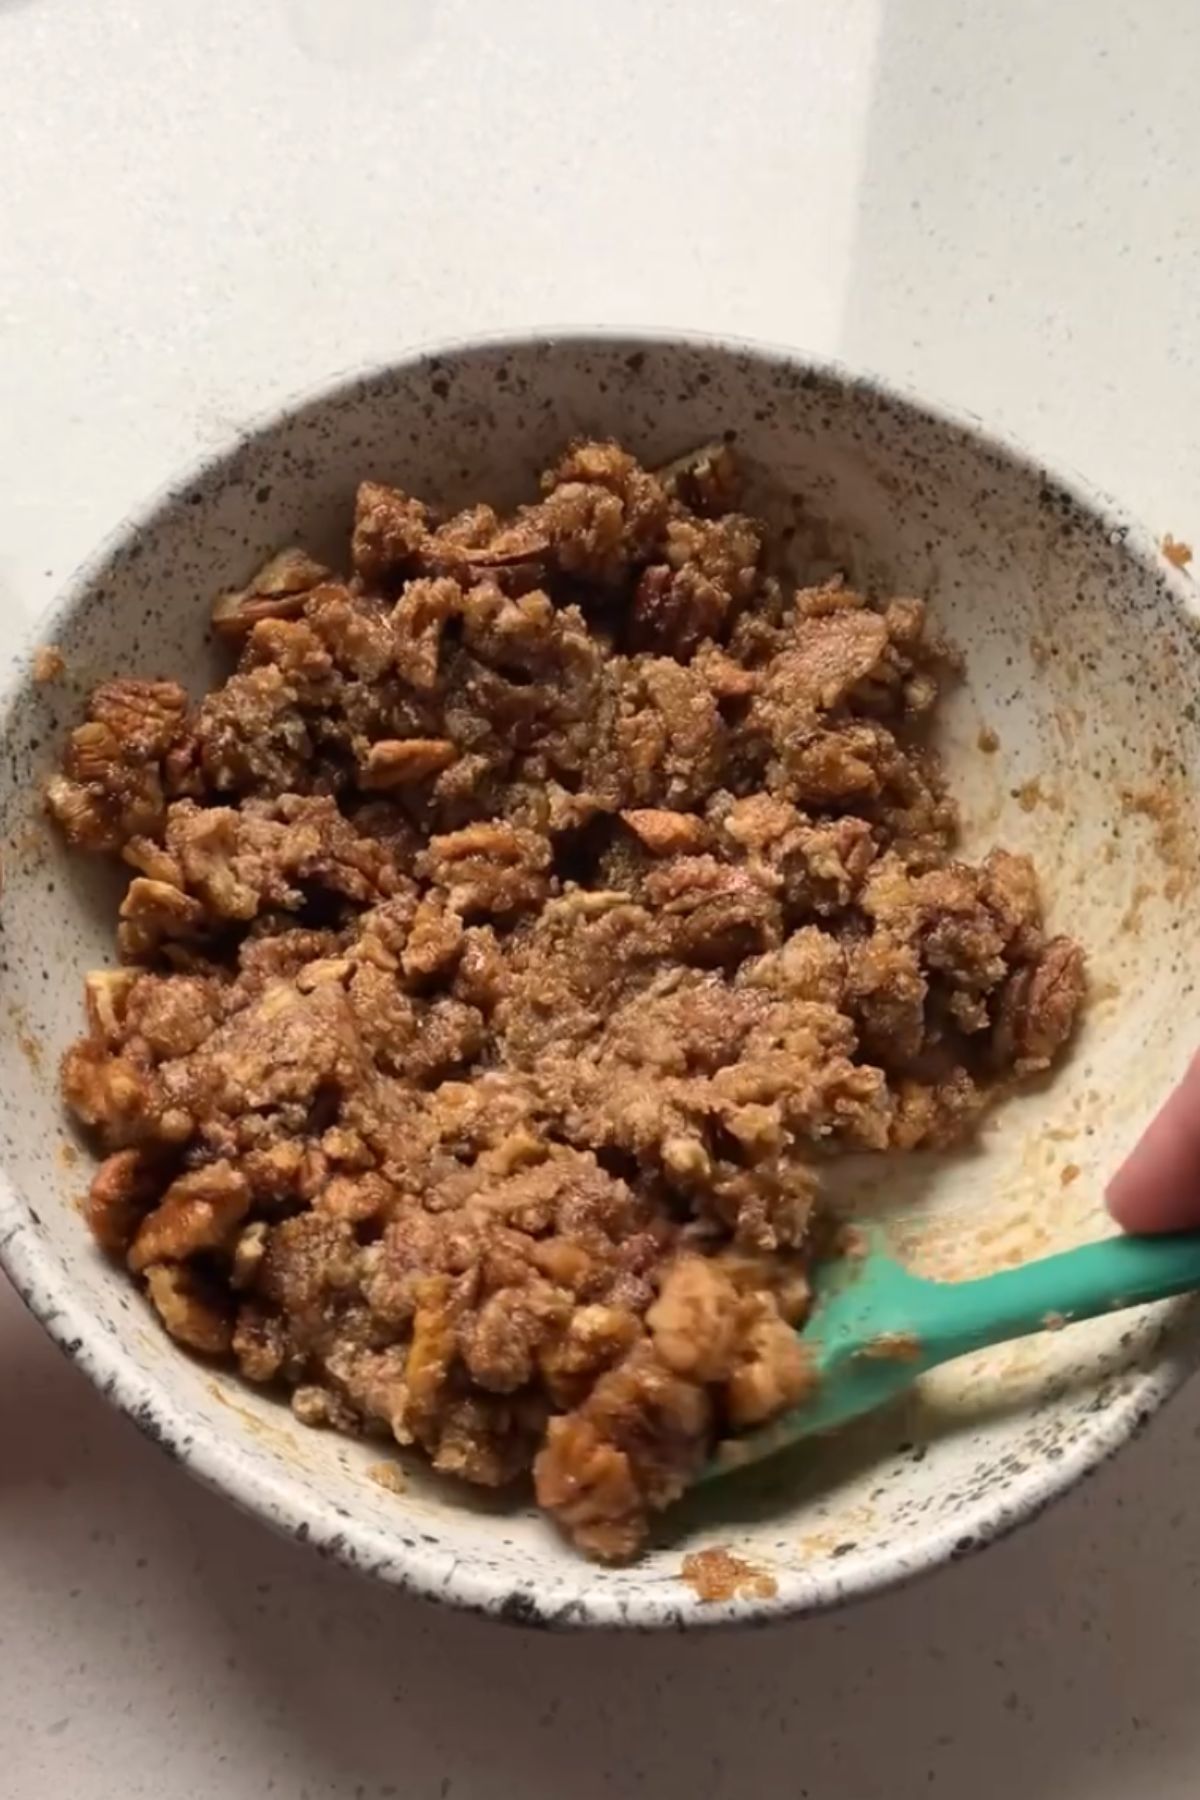
Combine the filling ingredients into a sticky, crumbly mixture.
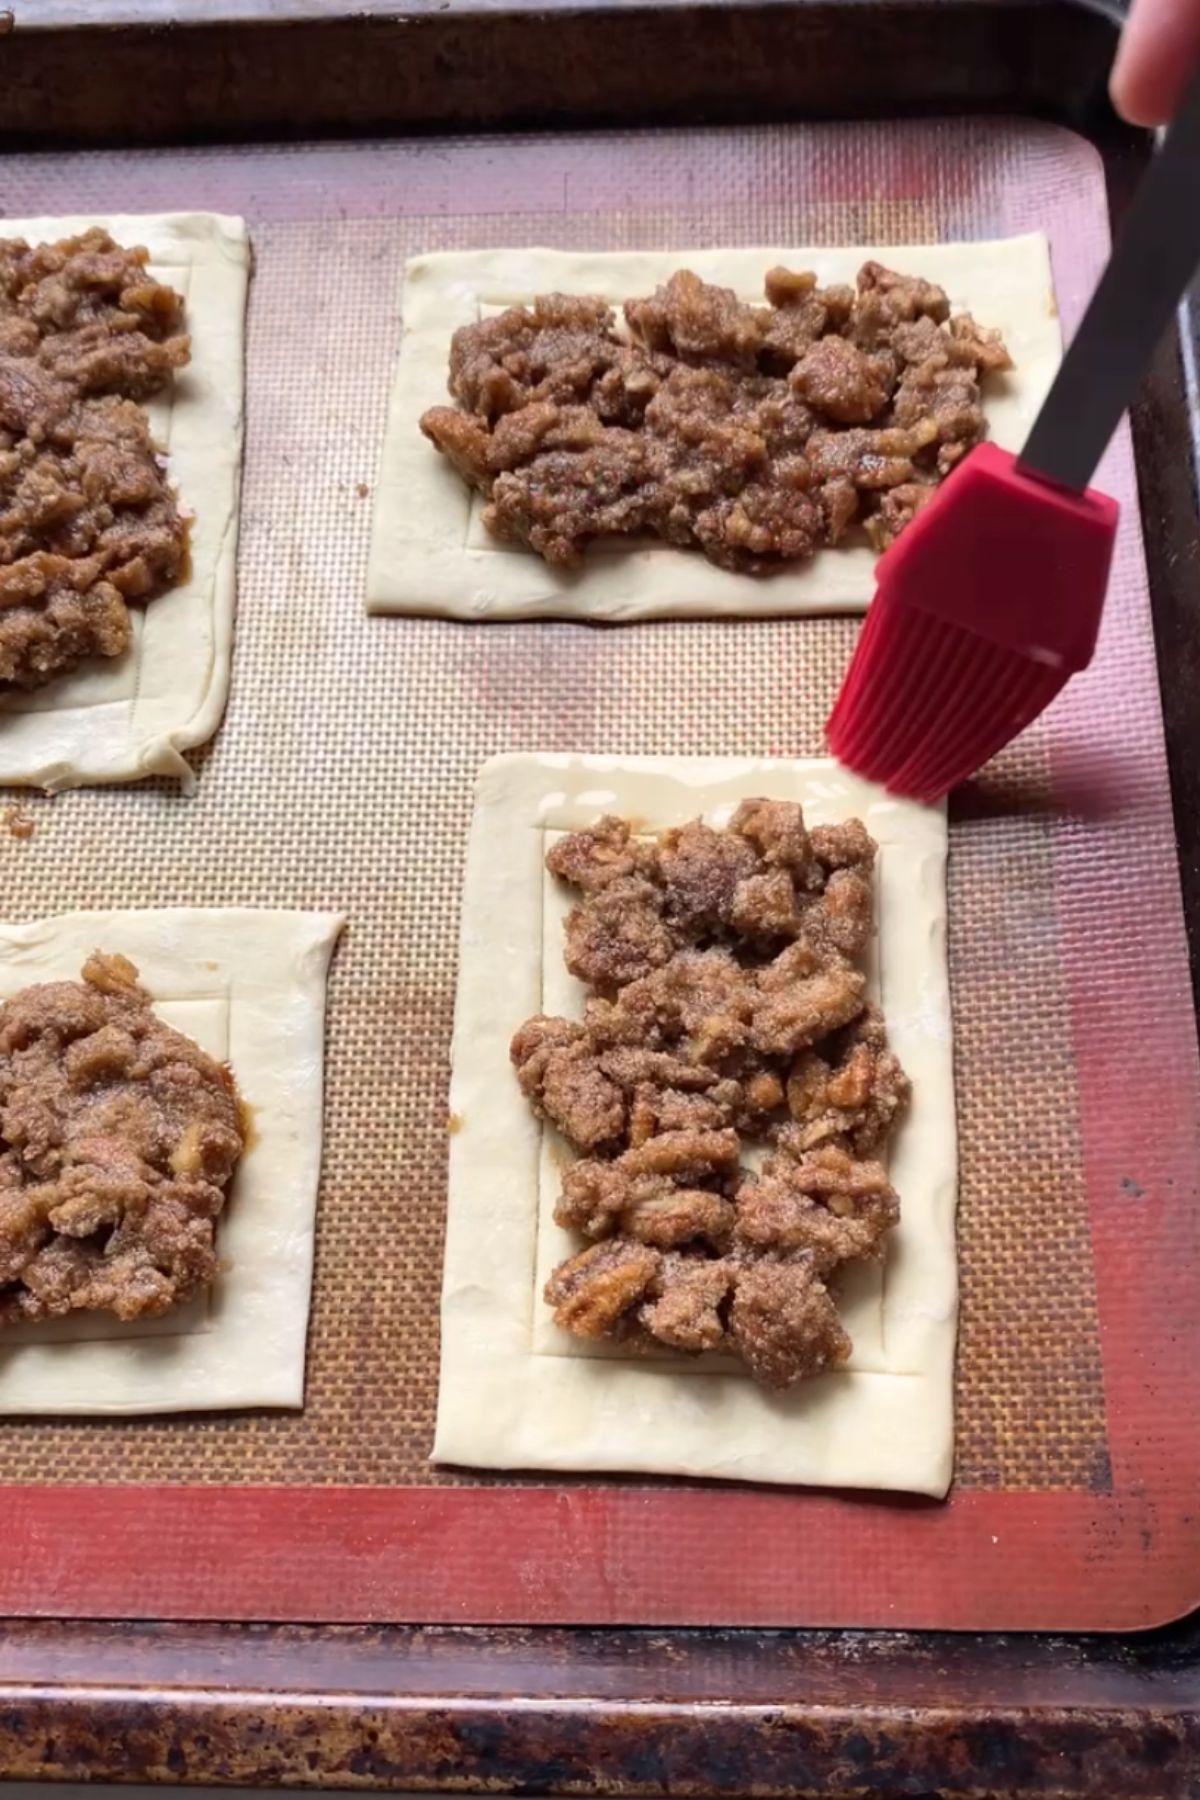
Divide the filling between the pastry pieces, spreading it out.
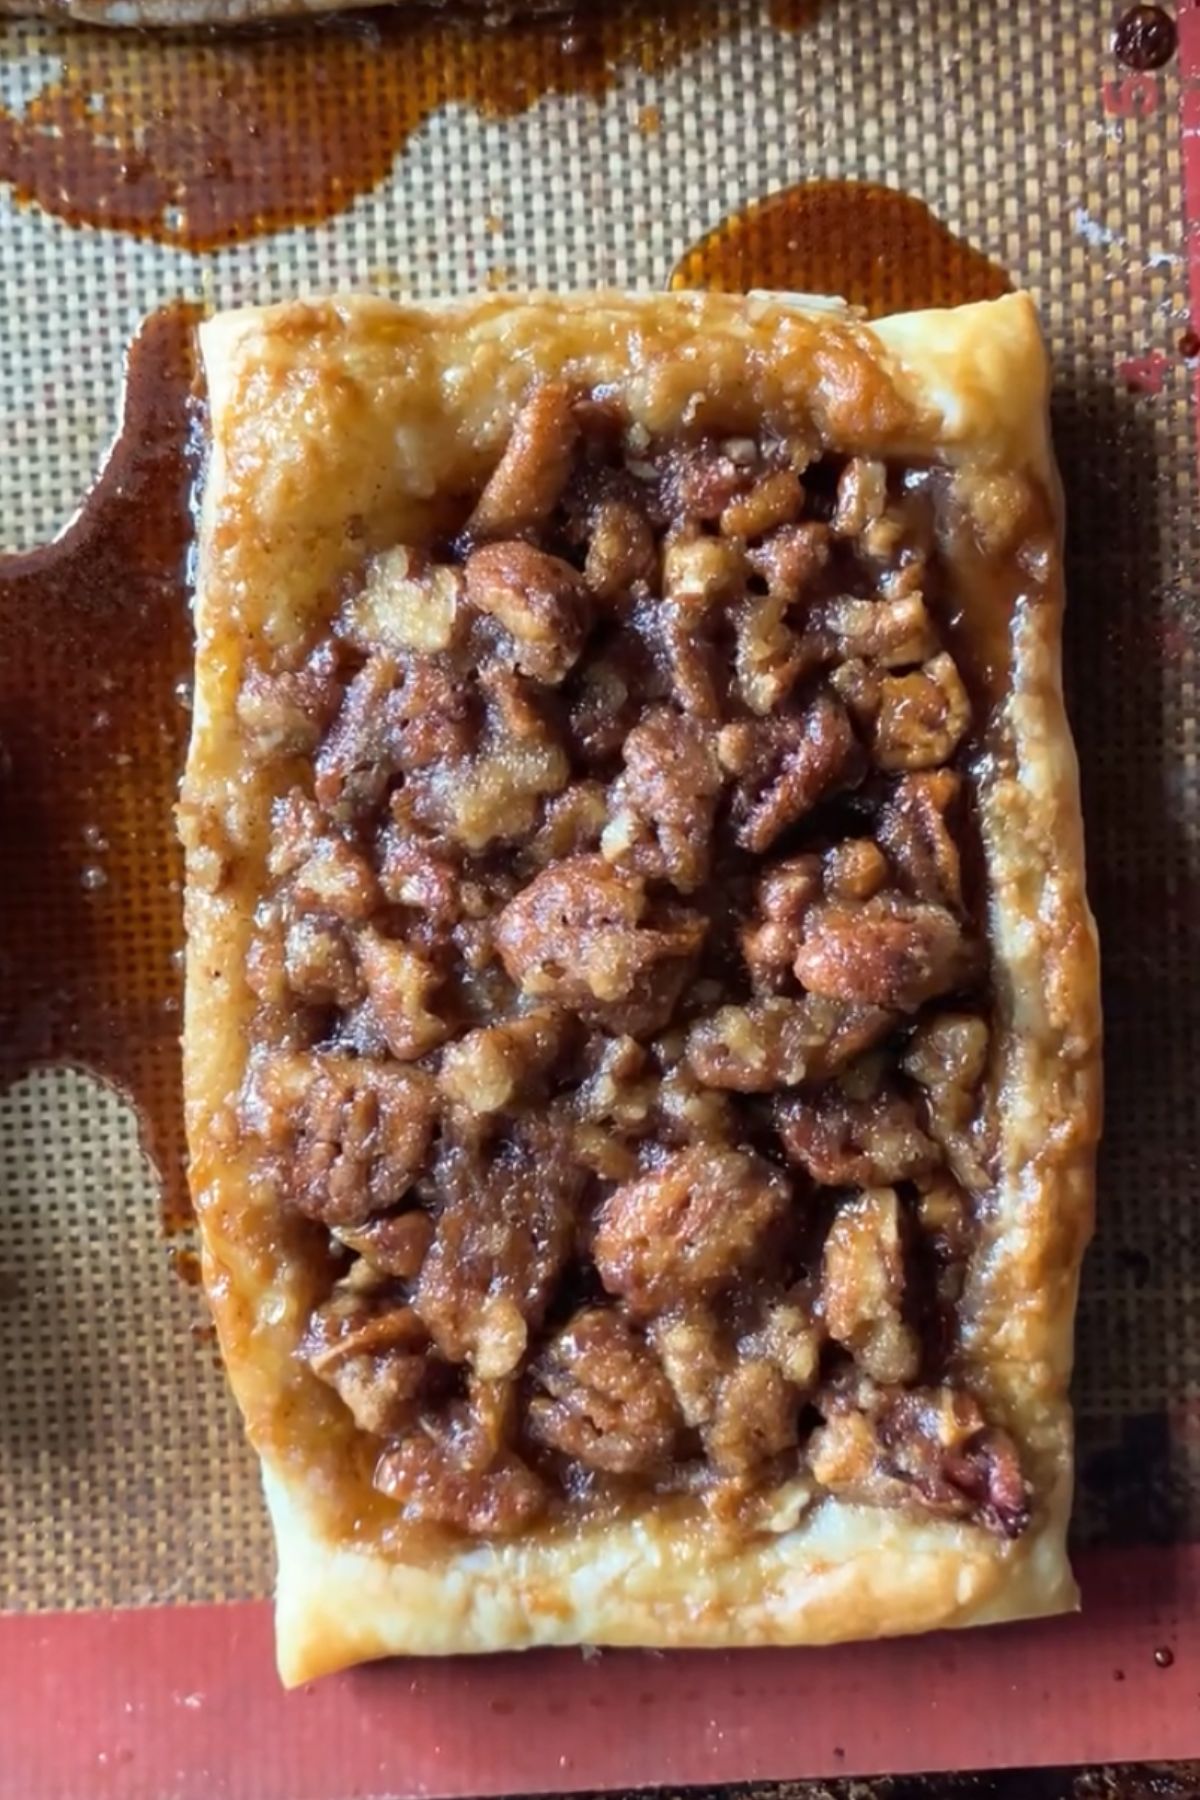
Bake for 20 minutes until golden brown and bubbling.
Allow to cool slightly before eating.
Tips for Making Maple Pecan Danishes
Storage
Store the danishes covered in the fridge for up to 3 days, or freeze in an airtight container or bag for up to 3 months. Thaw completely before serving.
FAQ’s
Frozen puff pastry should be thawed for 30-60 minutes at room temperature, or for 8 hours in the fridge.
Pancake syrup can be used in a pinch, but real maple syrup provides the best texture and taste.
Puff pastry may not rise correctly if it was too warm before baking, or if it is underbaked.
No, you do not need to toast the pecans, although you could if you wanted an extra nutty flavour.
Maple Pecan Danish Recipe
Equipment
- 1 baking sheet
- 1 butter knife
Ingredients
- 1 sheet puff pastry
- 1 cup pecans chopped
- ½ cup brown sugar
- ¼ cup maple syrup
- 2 tablespoons vegan butter softened
- ¼ teaspoon cinnamon
- ½ teaspoon vanilla extract
Instructions
- Allow the frozen puff pastry to thaw at room temperature for 30-60 minutes before using. Preheat the oven to 400°F/200°C and line a baking sheet with parchment or a silicone baking mat.
- Cut the puff pastry into 6 equal pieces and place on the prepared baking sheet. Using a small knife, trace a 1/2 inch border onto each pastry piece, indenting it slightly.
- In a medium bowl, combine the pecans, brown sugar, maple syrup, vegan butter, cinnamon, and vanilla extract. Mix into a sticky crumble. Divide the filling between each pastry and spread it out to fill the inside of the border.
- Brush the edges with plant milk mixed with a splash of maple syrup, and bake for 20 minutes until golden brown.
Notes
Nutrition Info
Nutritional information is an estimate. Values vary based on products used. Read our full Nutrition Disclaimer.
Disclosure: This blog post may contain affiliate links, which means I get a commission if you purchase through my link, at no extra cost to you.

SHARE THIS RECIPE
Rating, commenting, and sharing my recipes really helps. Thanks for taking the time! Mention @theveggieyaya on Instagram.
Save this image to your baking recipes board on Pinterest.

Erika Piper
Hey there, I’m Erika. I’ve been meat-free for over a decade.
I’m here to provide delicious and affordable plant-based recipes for anyone interested.
Whether you’re a seasoned plant-based eater or just curious about trying it out, I’m here to support you with my easy and accessible recipes.