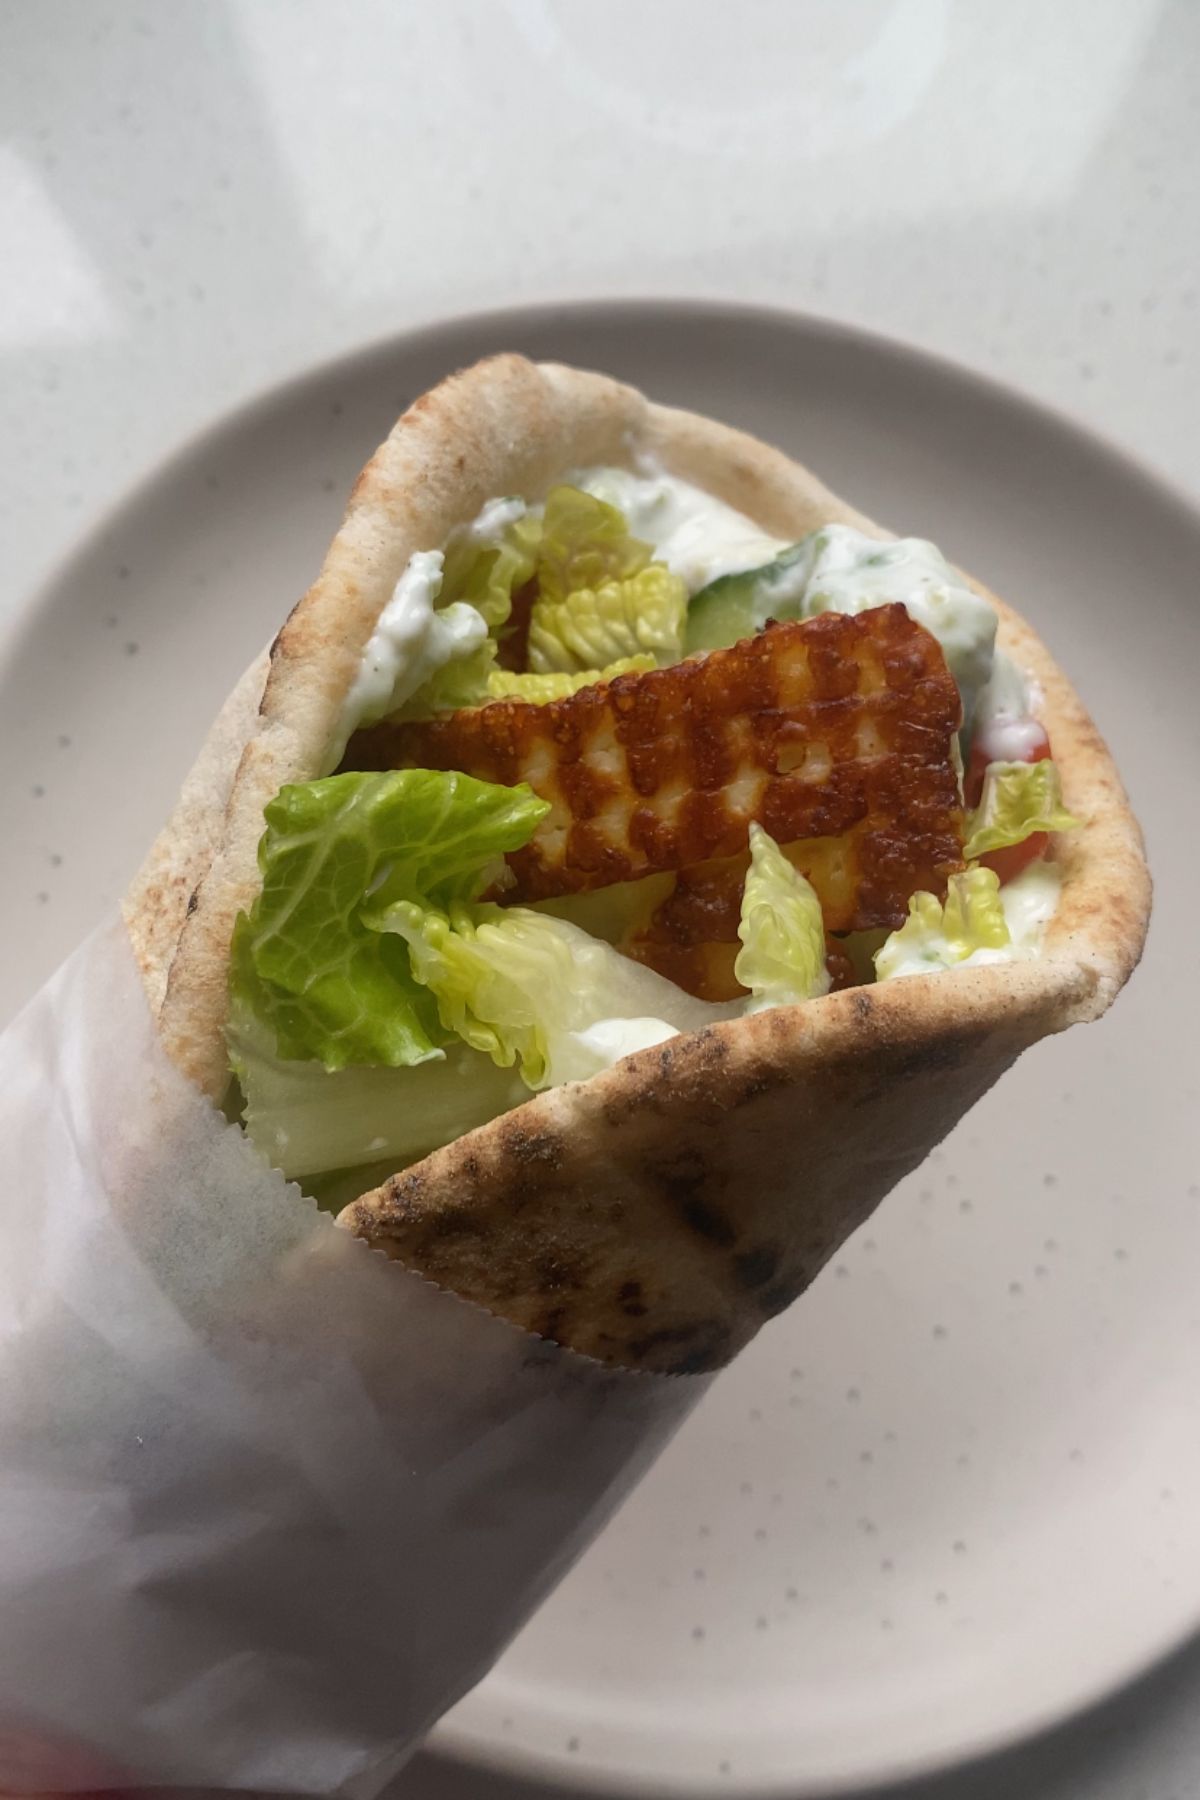
Halloumi Gyro – Crispy, salty grilled halloumi cheese with homemade tzatziki, lettuce, tomato, and red onion wrapped in a pita. This homemade Greek gyro is a delicious lunch or dinner and takes no time at all to make.
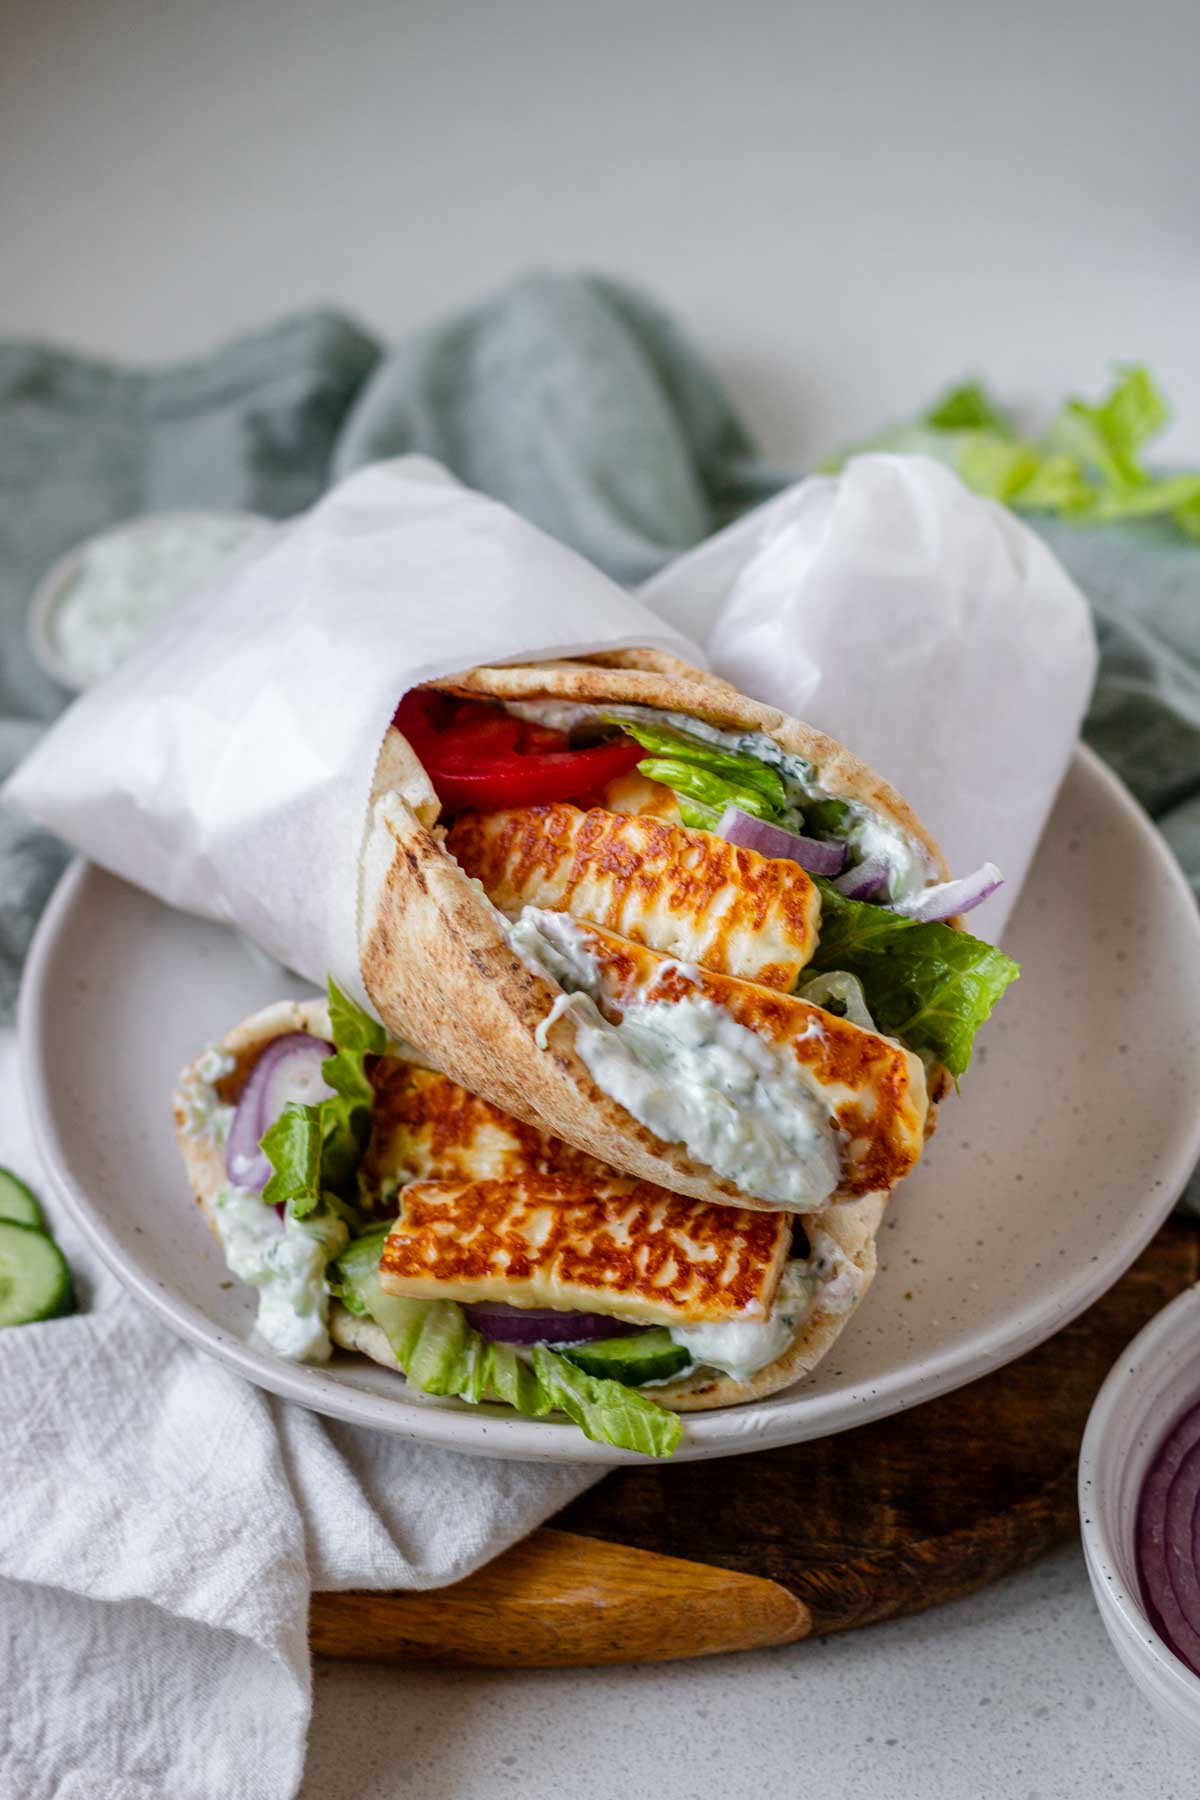
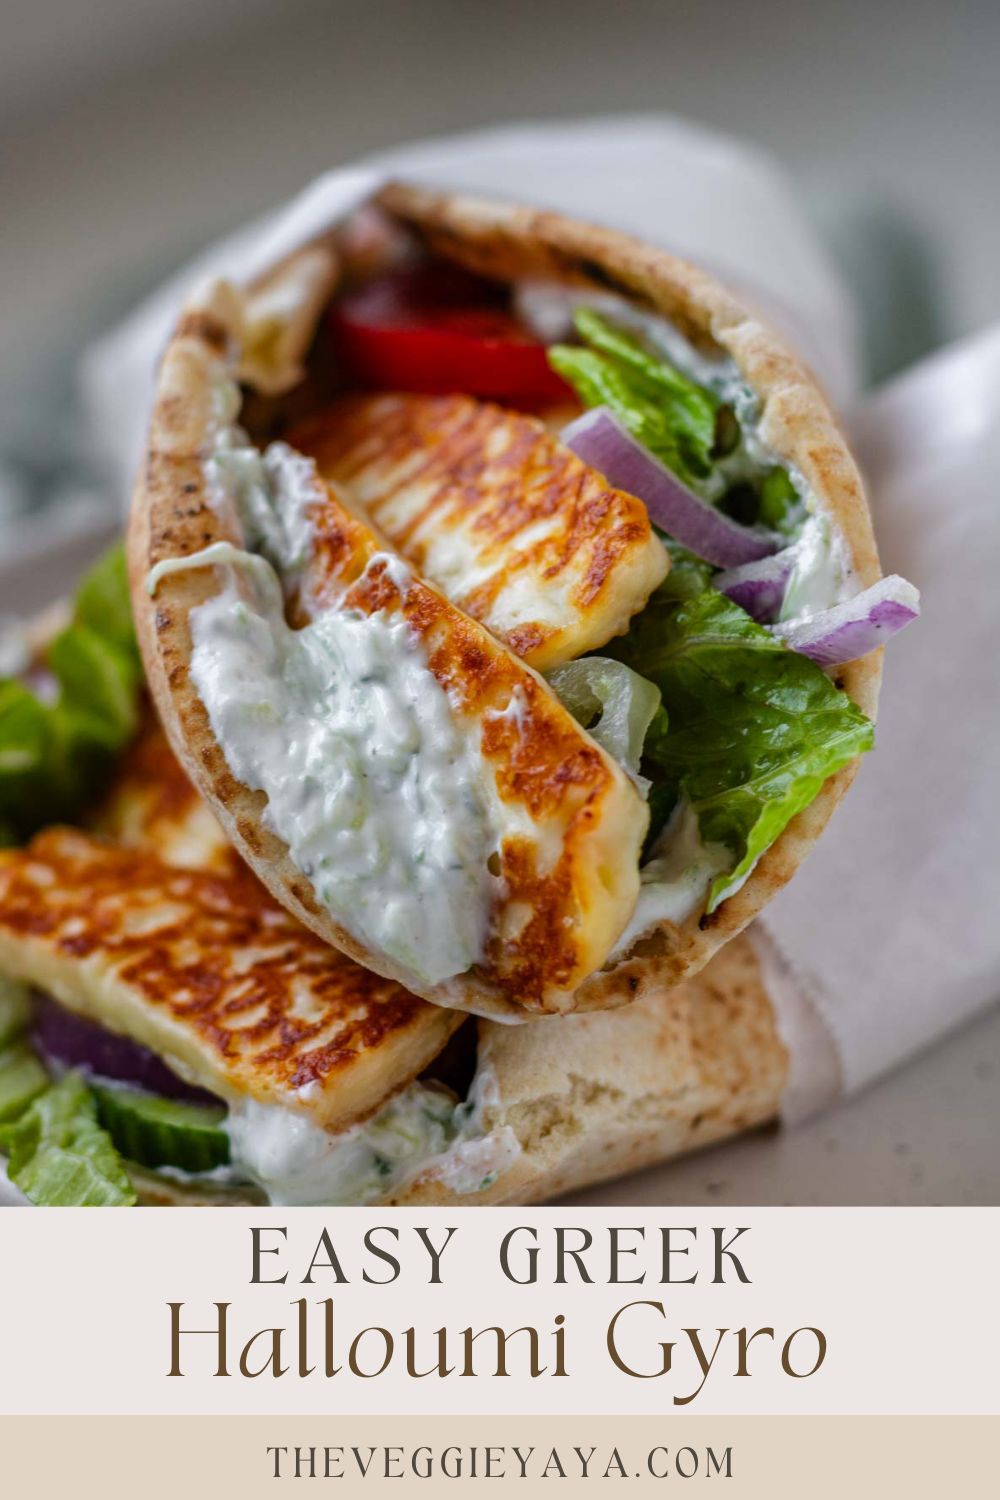
These homemade Greek halloumi gyros are the most delicious sandwich I’ve ever made. The cheese is perfectly fried, with a crispy exterior and gooey inside. It’s salty and super flavourful.
Paired with the crispy vegetables and refreshing tzatziki, this combination is truly delicious.
What Is a Gyro?
A gyro, pronounced more like yee-roh, is a Greek wrap typically consisting of thin slices of rotisserie meat, tzatziki, tomato, and red onion. The word gyro derives from the Greek word yiros, which means turn, referring to the spinning rotisserie spit used to cook the meat.
A gyro is most similar to shawarma or doner kebab, but what makes a gyro stand out is the tzatziki, Greek seasonings, and use of pork, which is not halal.
Common vegetarian gyros fillings are falafel or halloumi cheese. Both are delicious and incredibly satisfying, but halloumi takes the cake for me.

What Is Halloumi Cheese?
Halloumi cheese is a semi-hard cheese originating in Cyprus, and it’s typically made from a mixture of sheep’s and goat’s milk, although a less traditional version may be made with cow’s milk.
Halloumi is popular in Greece and other Eastern Mediterranean countries like Turkey, Syria, Lebanon, and Egypt.
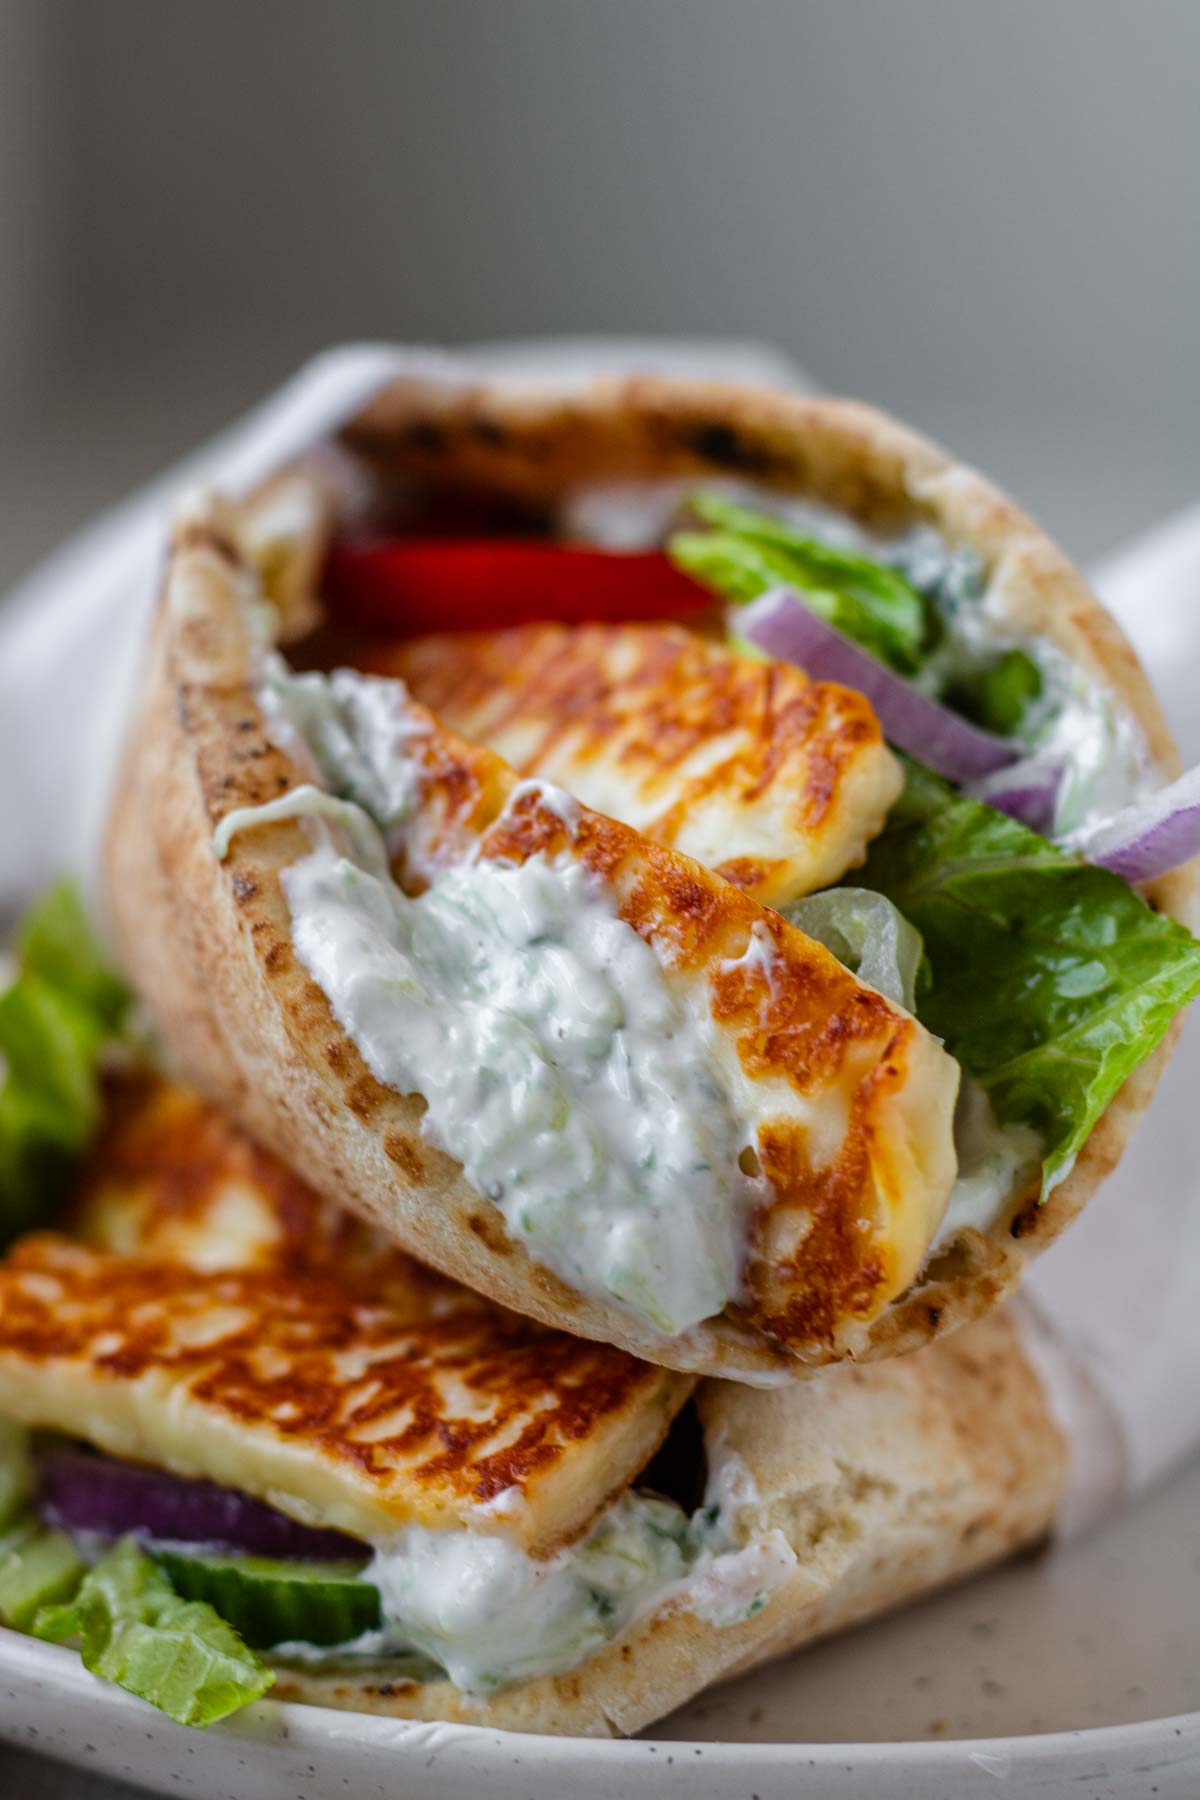
With its high melting point, halloumi is often grilled or fried, yielding a crispy exterior and soft, squeaky inside. Halloumi is salty and tangy, and is a great vegetarian meat alternative for gyros and other sandwiches or wraps.
How to Grill Halloumi Cheese
Grilled halloumi is a very quick and easy process, taking less than 10 minutes.
While your pan is heating over medium-low heat (not too high, you don’t want to burn the halloumi), slice the halloumi into 1/4 inch slices.
Add a drizzle of neutral oil to the pan, just to prevent the cheese from sticking.
Add the halloumi to the pan in a single layer and fry for 2-3 minutes per side, or until golden brown and crispy. Remove from the pan and add directly to the gyros.
How to Make Homemade Halloumi Gyros
Making homemade vegetarian gyros is such an easy process, not to mention it’s great for meal prep, especially during the hot summer months.
To make the fresh tzatziki, the first step is to draw out some of the moisture from the cucumber. Finely shred the cucumber into a sieve lined with paper towel on top of a bowl. Sprinkle it with salt- this helps draw out the moisture. Let it sit for a few minutes, then squeeze out all of the liquid.
Combine the tzatziki ingredients, then set aside. Store-bought tzatziki can be used to save time.
Fry the halloumi slices for 2-3 minutes per side, or until a dark golden brown colour.
Assemble the gyros by spreading tzatziki sauce over the pita. Sprinkle with dried oregano, then add the veggies and halloumi.
Fold the sides of the pita into the centre, then wrap it in parchment paper. Gyros can be kind of messy to eat, so the parchment paper helps hold them together.
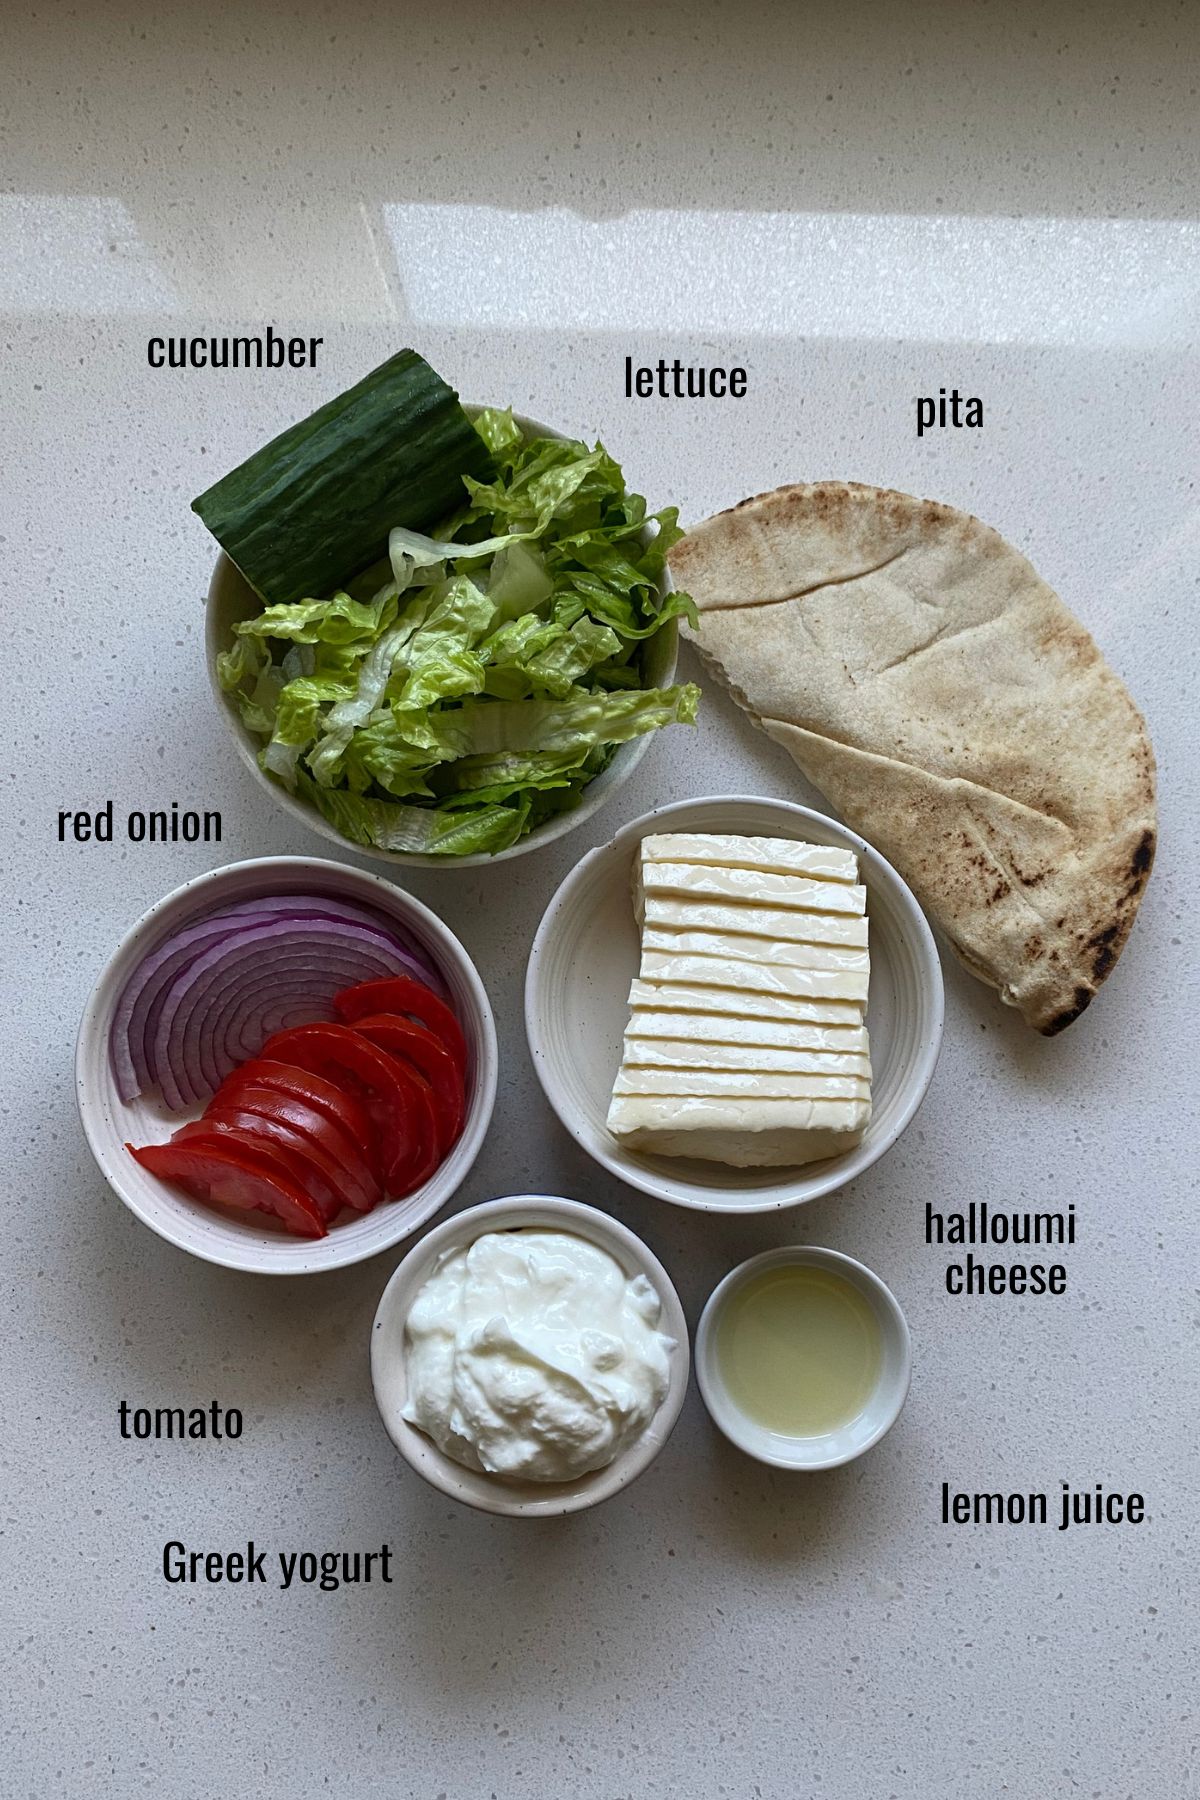
Ingredients
More about the ingredients in this recipe. The exact measurements are below.
Substitutions
Instructions
Prep tips:
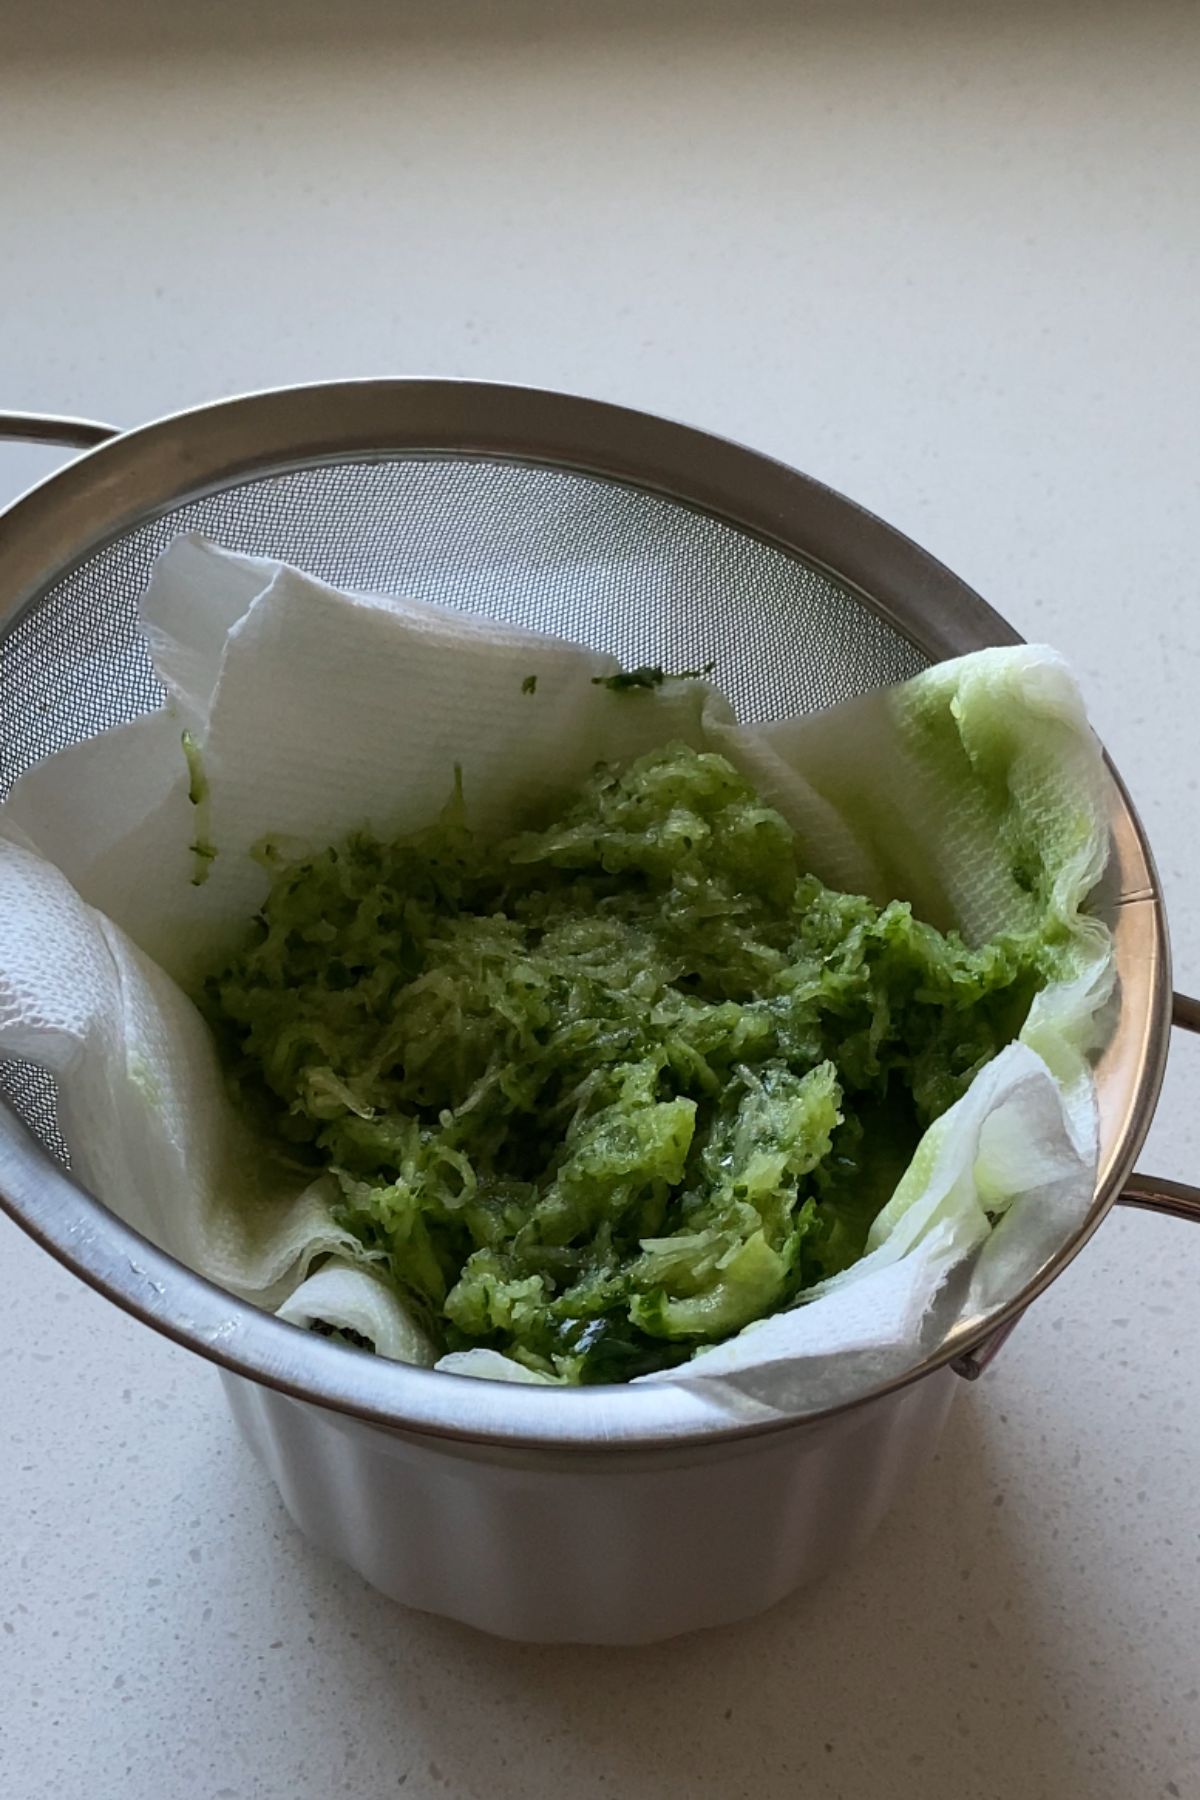
Finely grate the cucumber over a sieve lined with paper towel on top of a small bowl. Sprinkle with salt to draw out the moisture. Set aside for 5 minutes, then squeeze out all the liquid.
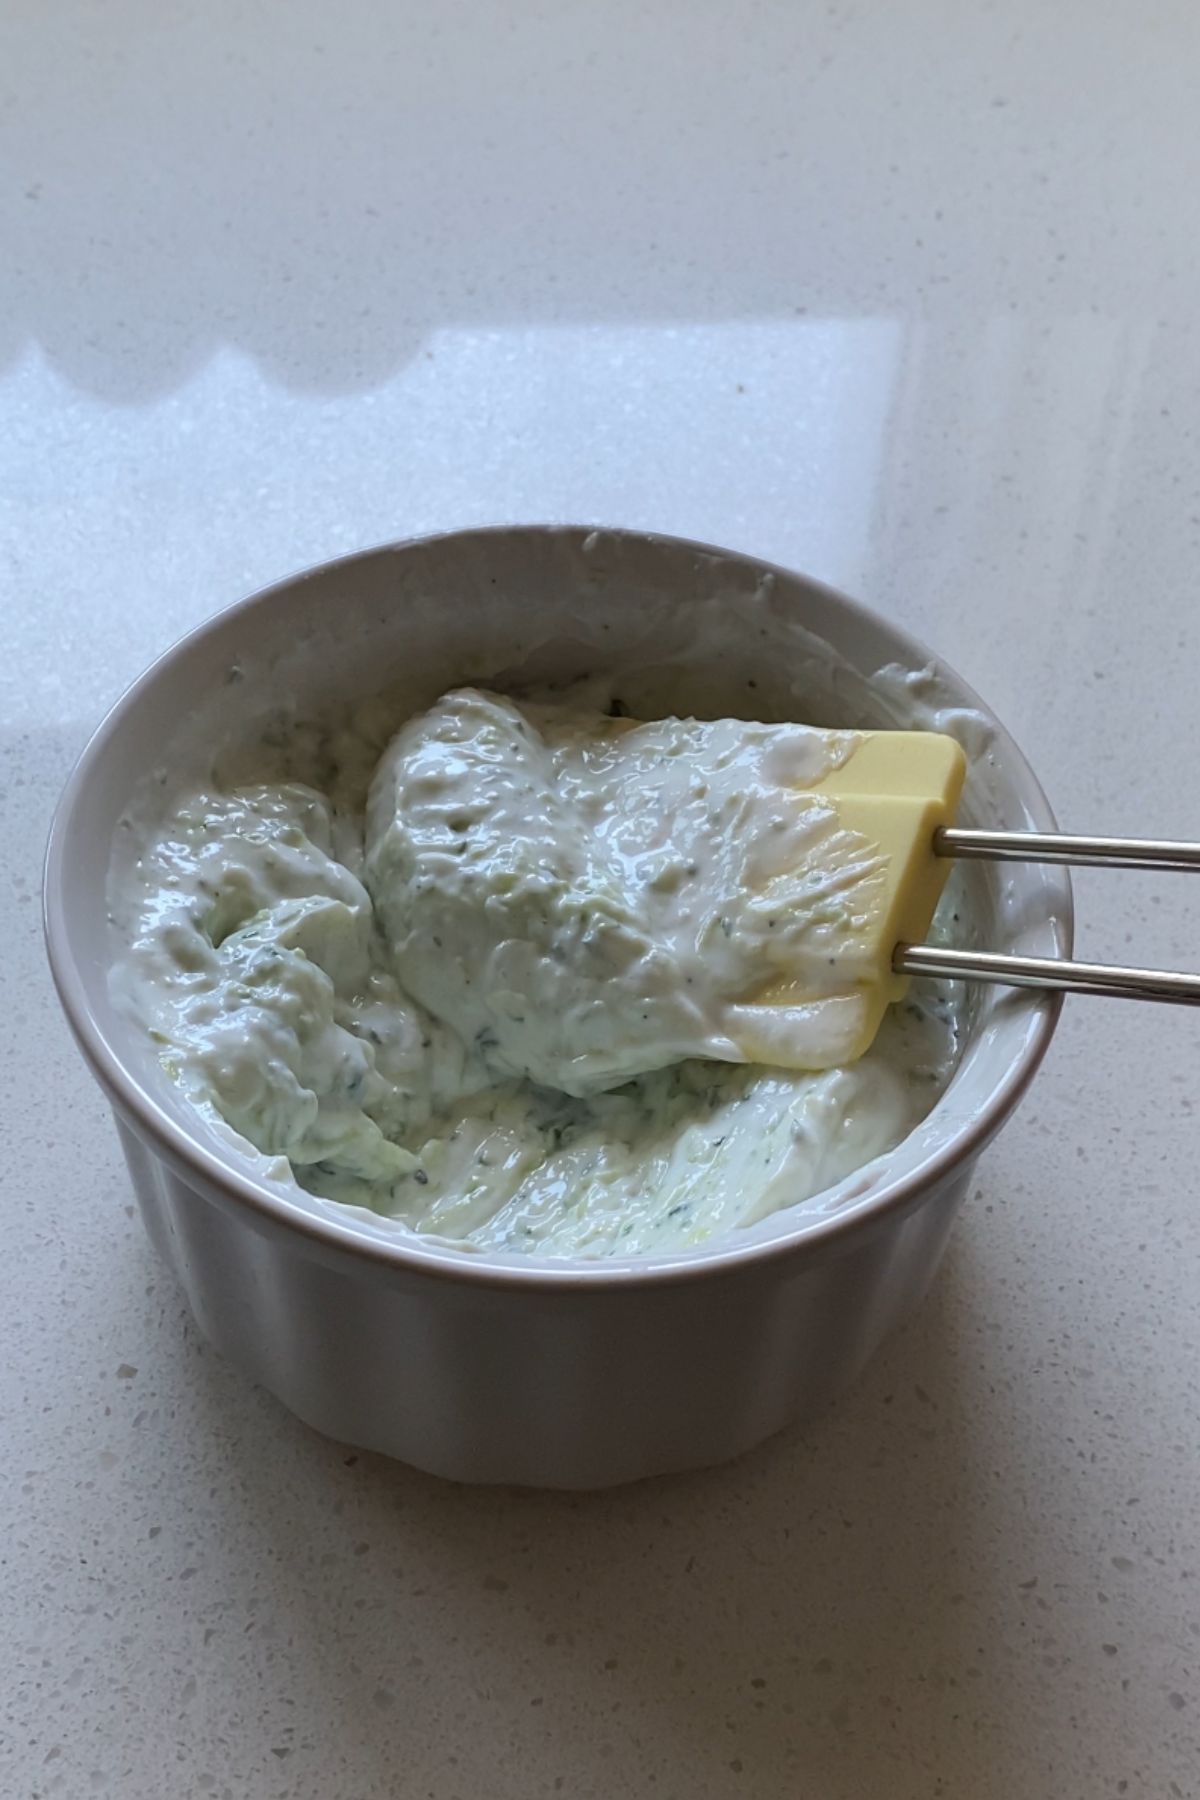
Make the tzatziki by combining Greek yogurt, shredded cucumber, lemon juice, garlic, salt, and pepper.

Fry the halloumi over medium low heat for 2-3 minutes per side, or until golden brown.
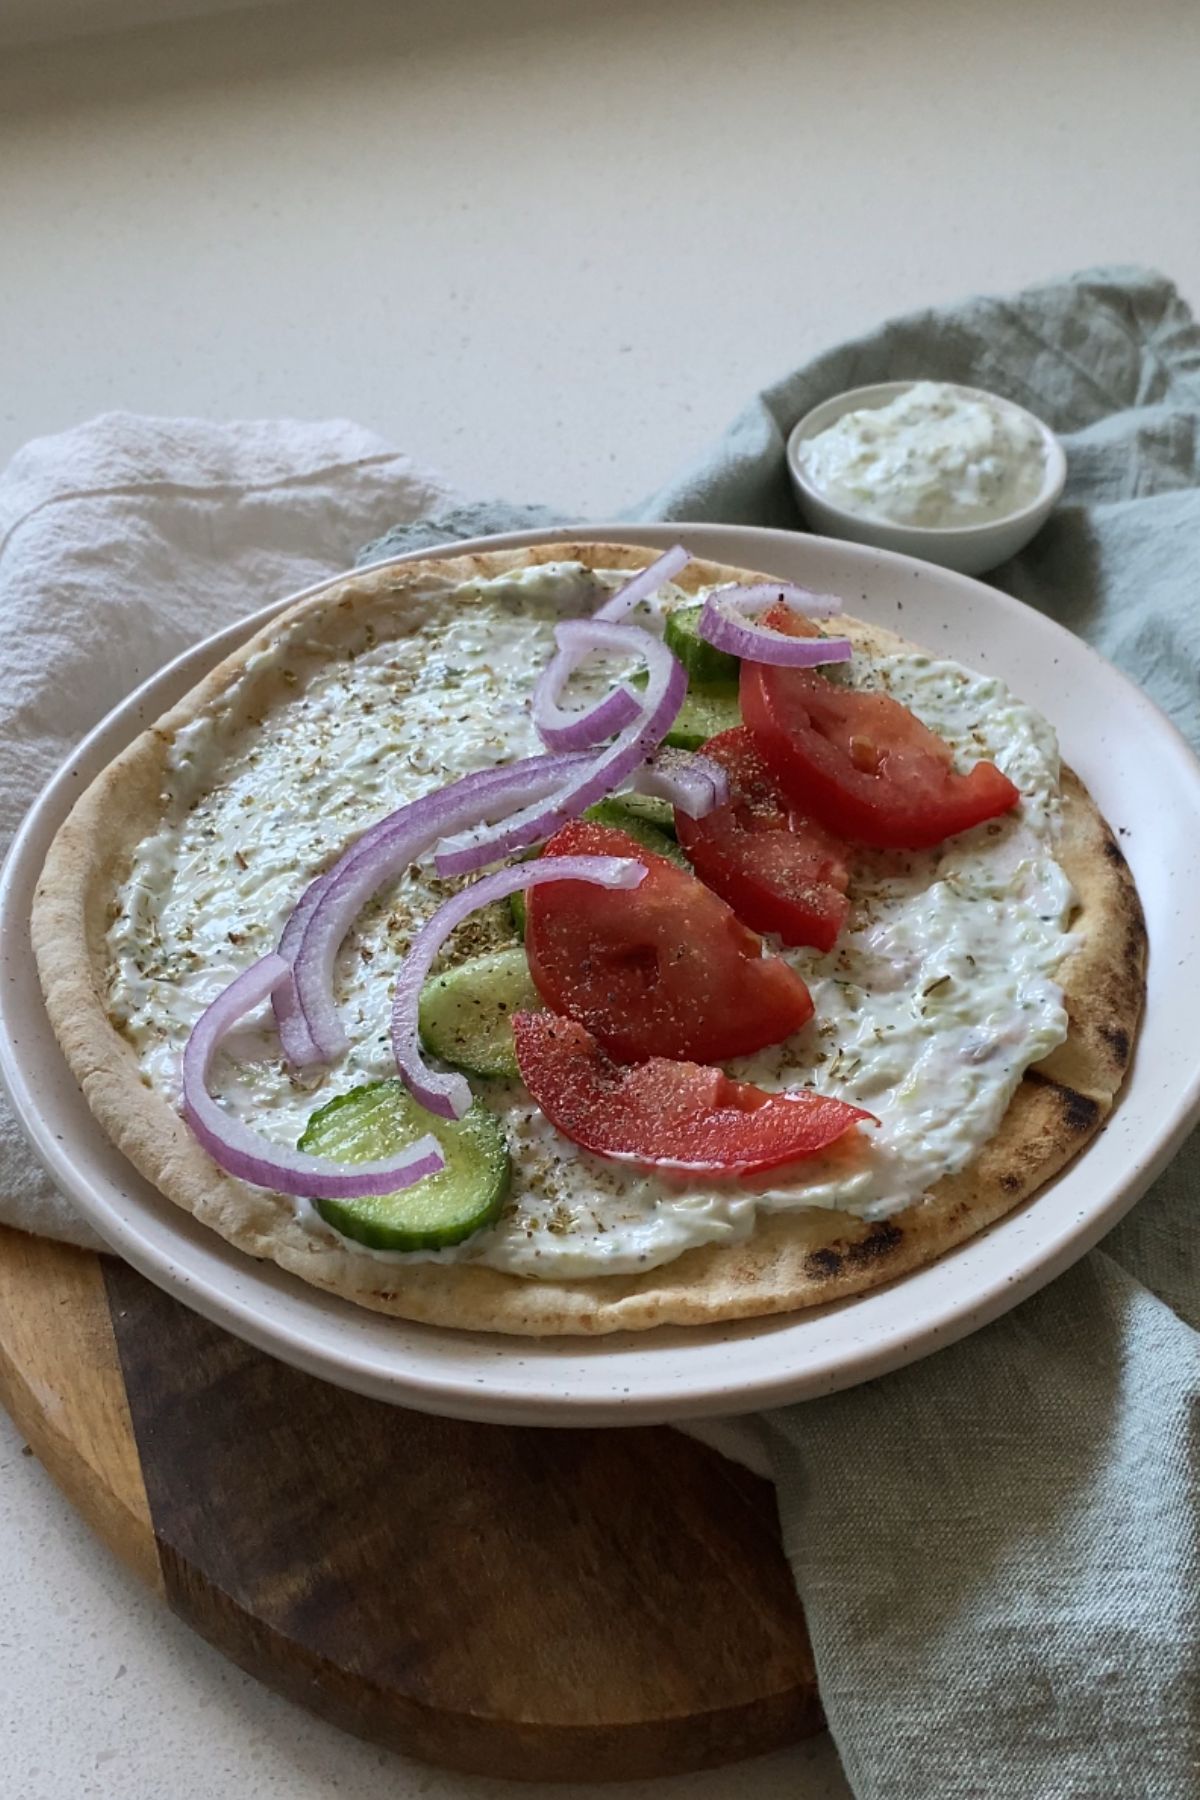
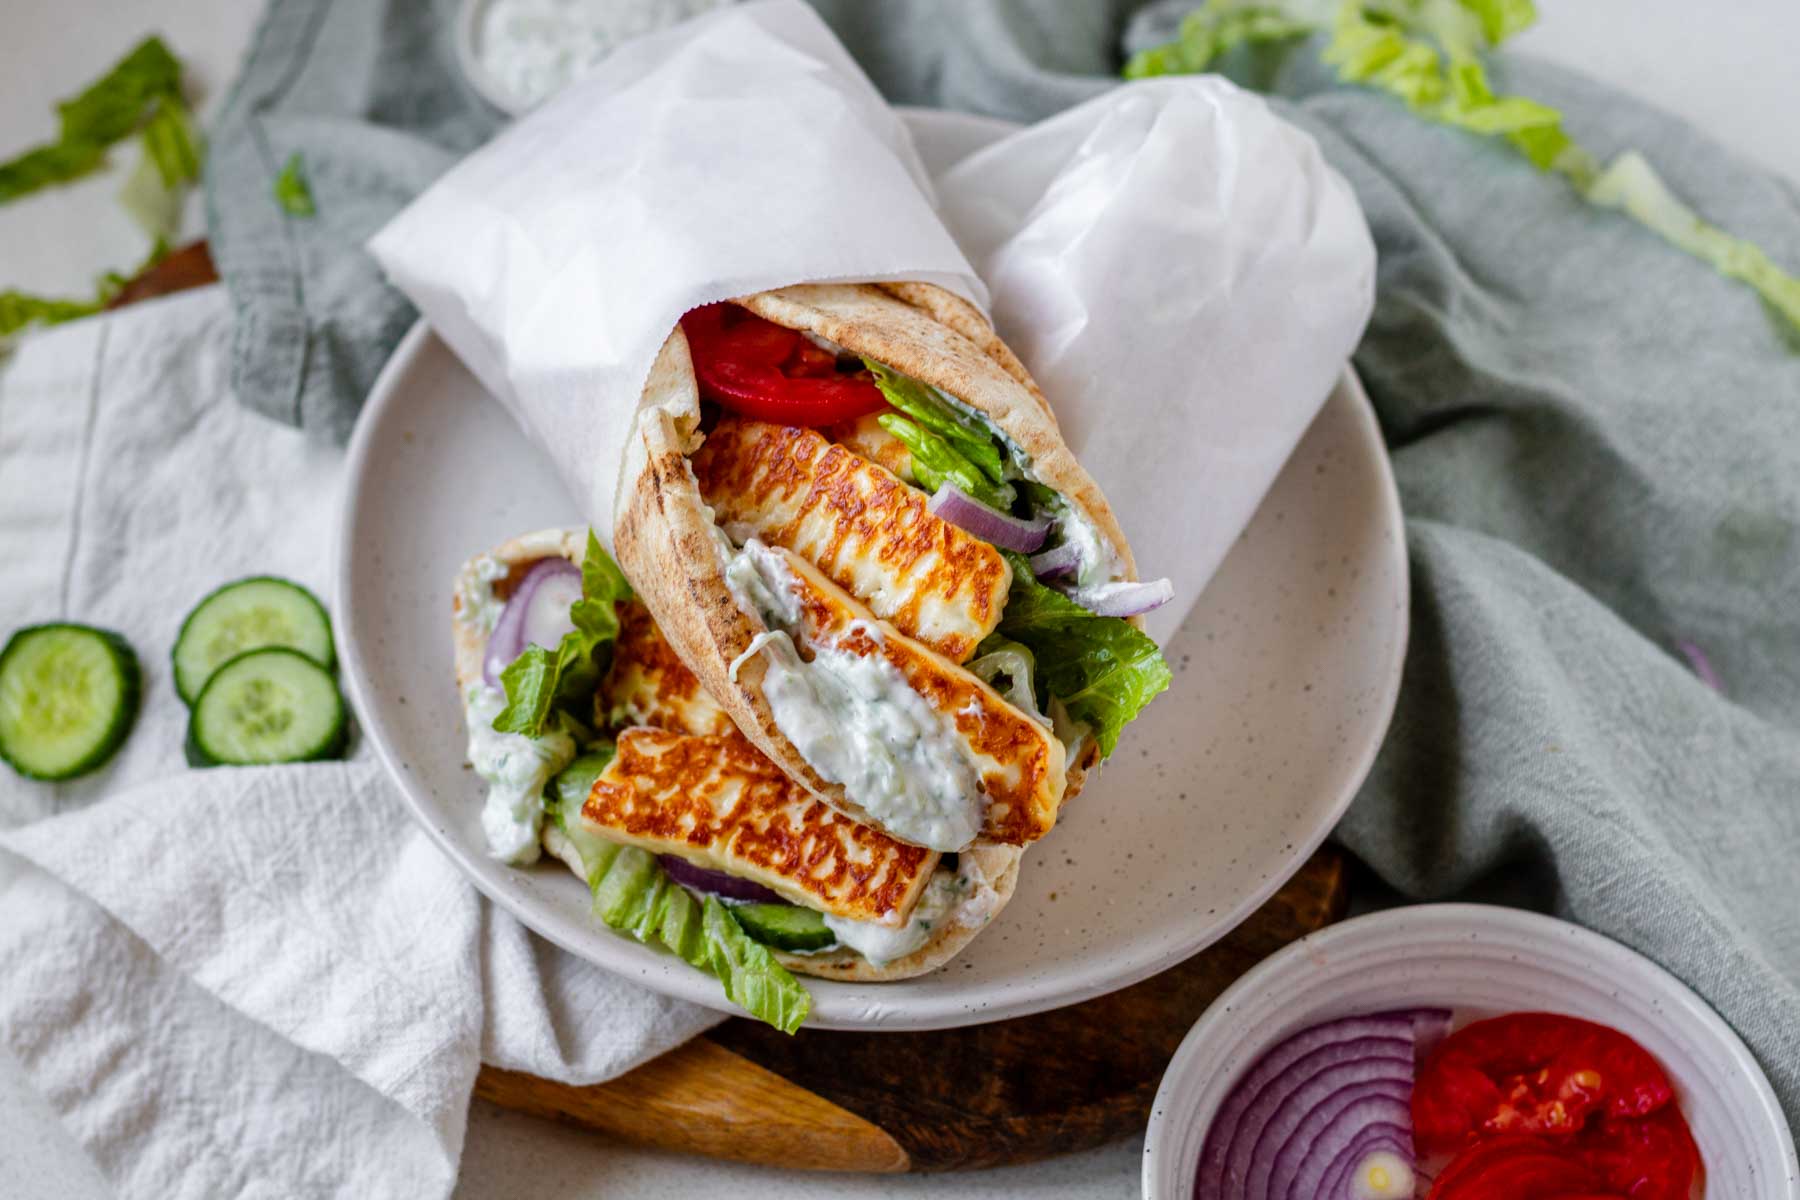
Assemble the gyro by adding tzatziki, red onion, tomato, and cucumber to the pita. Sprinkle with salt and pepper.
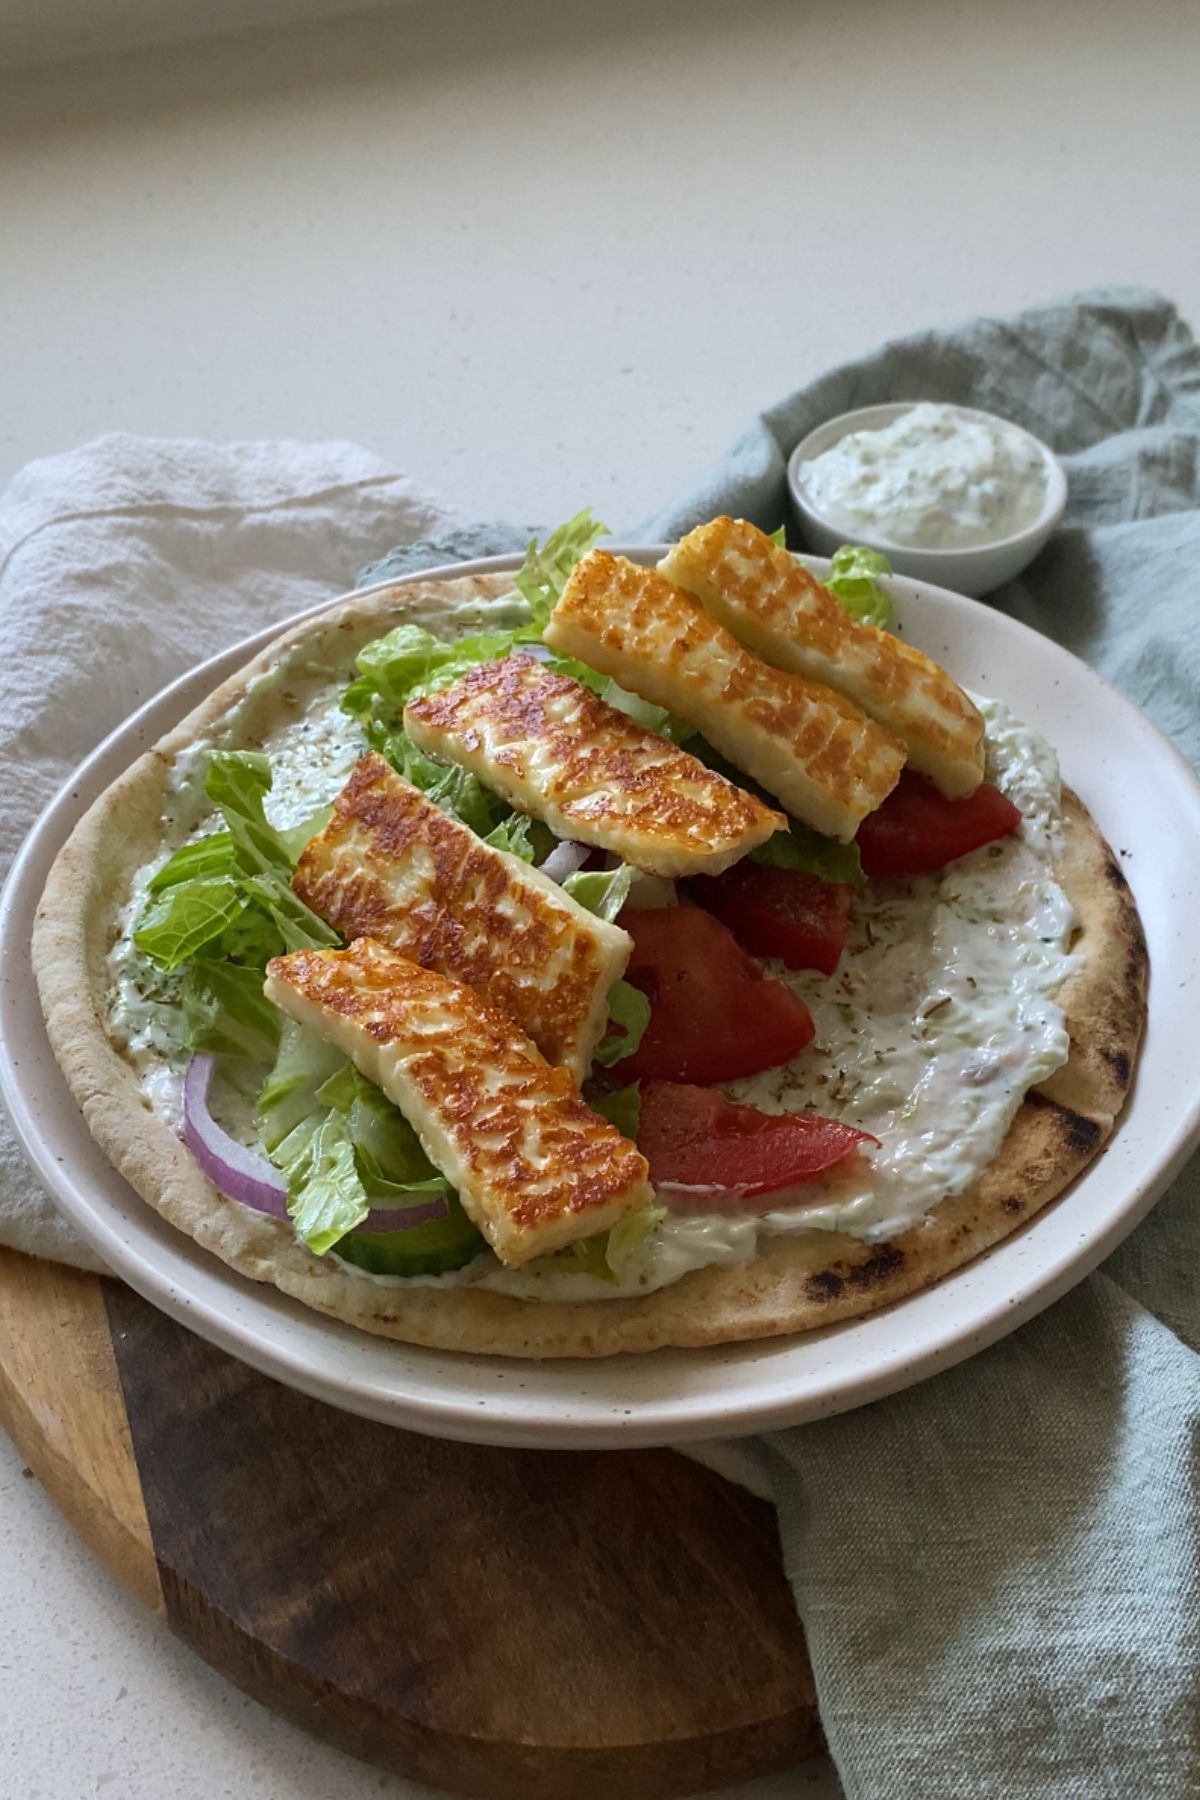
Add the lettuce and halloumi.
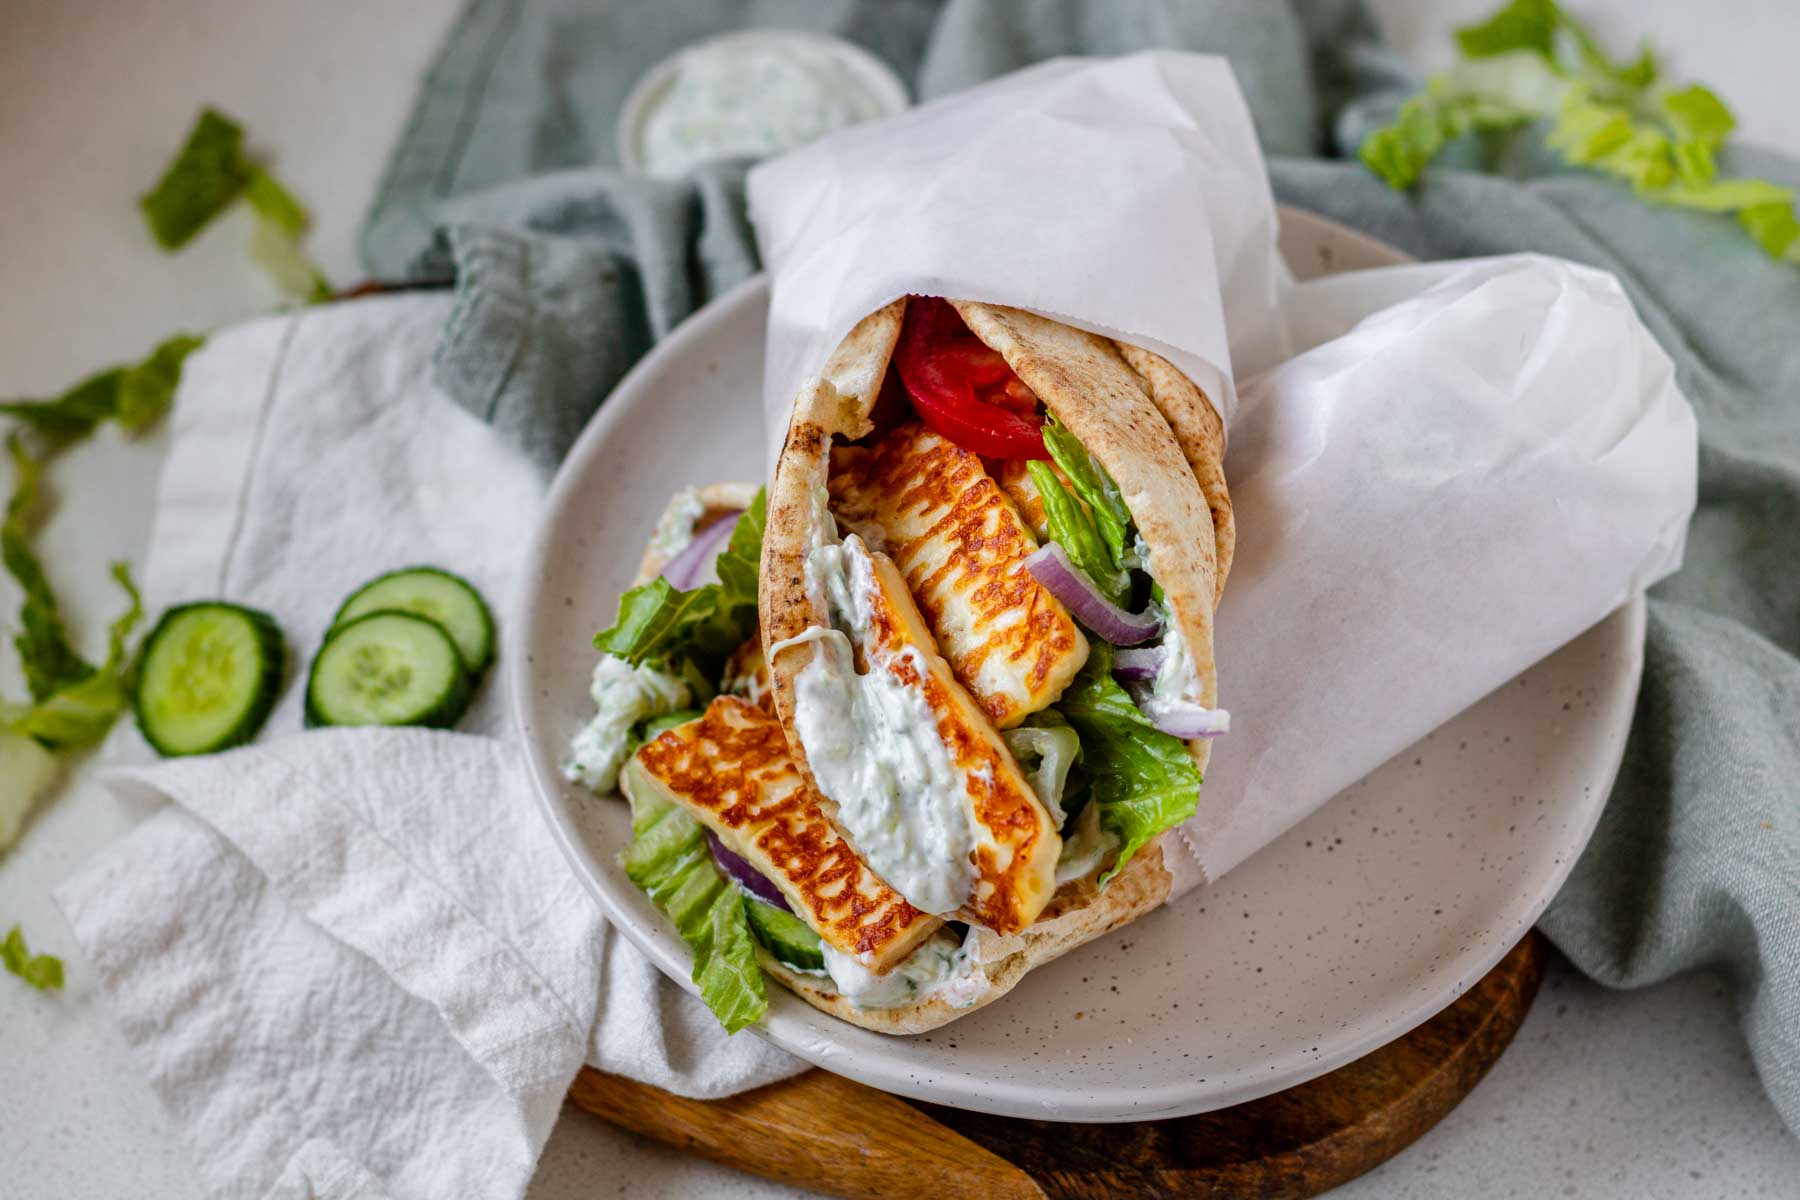
Fold in the sides, and wrap the bottom half in parchment to help hold the gyro together.
Serve with extra tzatziki and fries on the side.
Tips for Making Homemade Gyros
What to Serve with a Gyro
Typically, gyros are served with fries on the side for a complete meal.
For a lighter side, try my Carrot Fries or Beet Chips.
For more Greek-inspired recipes, try my Spinach and Feta Spring Rolls. If you’re limiting dairy, try my Plant Based Tzatziki.
Storage
Gyros are a go-to meal prep lunch and dinner for me! Pre-frying the halloumi, making the tzatziki, and prepping the vegetables make it so easy to assemble the gyros over the next few days.
The cooked halloumi and tzatziki will last 3-4 days in the fridge, and the tzatziki only gets more flavourful as it sits.
FAQ’s
To cut halloumi for gyros, slice it into 1/4 inch rectangles. This thickness ensures a crispy exterior and a perfectly gooey inside.
A halloumi gyro is made with a flatbread or pita spread with a thick layer of tzatziki, and topped with lettuce, tomato, red onion, cucumber and grilled halloumi.
Halloumi is a firm cheese originating in Cyprus, although it is popular in most Mediterranean countries. Halloumi is salty and typically grilled, yielding a crisp exterior and squeaky interior.

Halloumi Gyro Recipe
Equipment
- 1 nonstick pan
Ingredients
- 2 pitas
- 120g halloumi sliced into 1/4 inch pieces
- dried oregano
- red onion sliced
- roma tomato sliced
- cucumber sliced
- lettuce shredded
Tzatziki
- ½ cup Greek yogurt
- ¼ English cucumber
- 3 teaspoons lemon juice
- 1 garlic clove minced
- salt and pepper to taste
Instructions
- Heat a pan over medium-low heat with a drizzle of neutral oil.
- Finely shred 1/4 of an English cucumber over a sieve lined with paper towel on top of a small bowl. Sprinkle the cucumber with salt to draw out the moisture. Set aside for 5 minutes, and then squeeze as much liquid out of it as you can. Discard the liquid.
- Combine the Greek yogurt, cucumber, lemon juice, garlic, and salt and pepper to taste. Set aside.
- Fry the sliced halloumi for 2-3 minutes per side, or until a dark golden brown colour.
- Assemble the gyro by spreading tzatziki over the pita and topping with a sprinkle of dried oregano. Add the red onion, tomato, and cucumber. Sprinkle with salt and pepper.
- Add the lettuce and halloumi. Fold in the side of the pita, and wrap the bottom half of the gyro in parchment paper to help hold it together.
Notes
Nutrition Info
Nutritional information is an estimate. Values vary based on products used. Read our full Nutrition Disclaimer.
Disclosure: This blog post may contain affiliate links, which means I get a commission if you purchase through my link, at no extra cost to you.
SHARE THIS RECIPE
Rating, commenting, and sharing my recipes really helps. Thanks for taking the time! Mention @theveggieyaya on Instagram.
Save this image to your Sandwich Recipes board on Pinterest.

Erika Piper
Hey there, I’m Erika. I’ve been meat-free for over a decade.
I’m here to provide delicious and affordable plant-based recipes for anyone interested.
Whether you’re a seasoned plant-based eater or just curious about trying it out, I’m here to support you with my easy and accessible recipes.